Monday, November 24, 2014

Fact: Erica likes to do puzzles on weekends.

I've gotten to the stage in my life where I have long left my partying days behind and now my idea of a fun weekend is hanging out with Wes, my fur babies, my crafts and my sewing machine.  A hobby I enjoy is puzzling. I started with a 500-piece and went up from there.

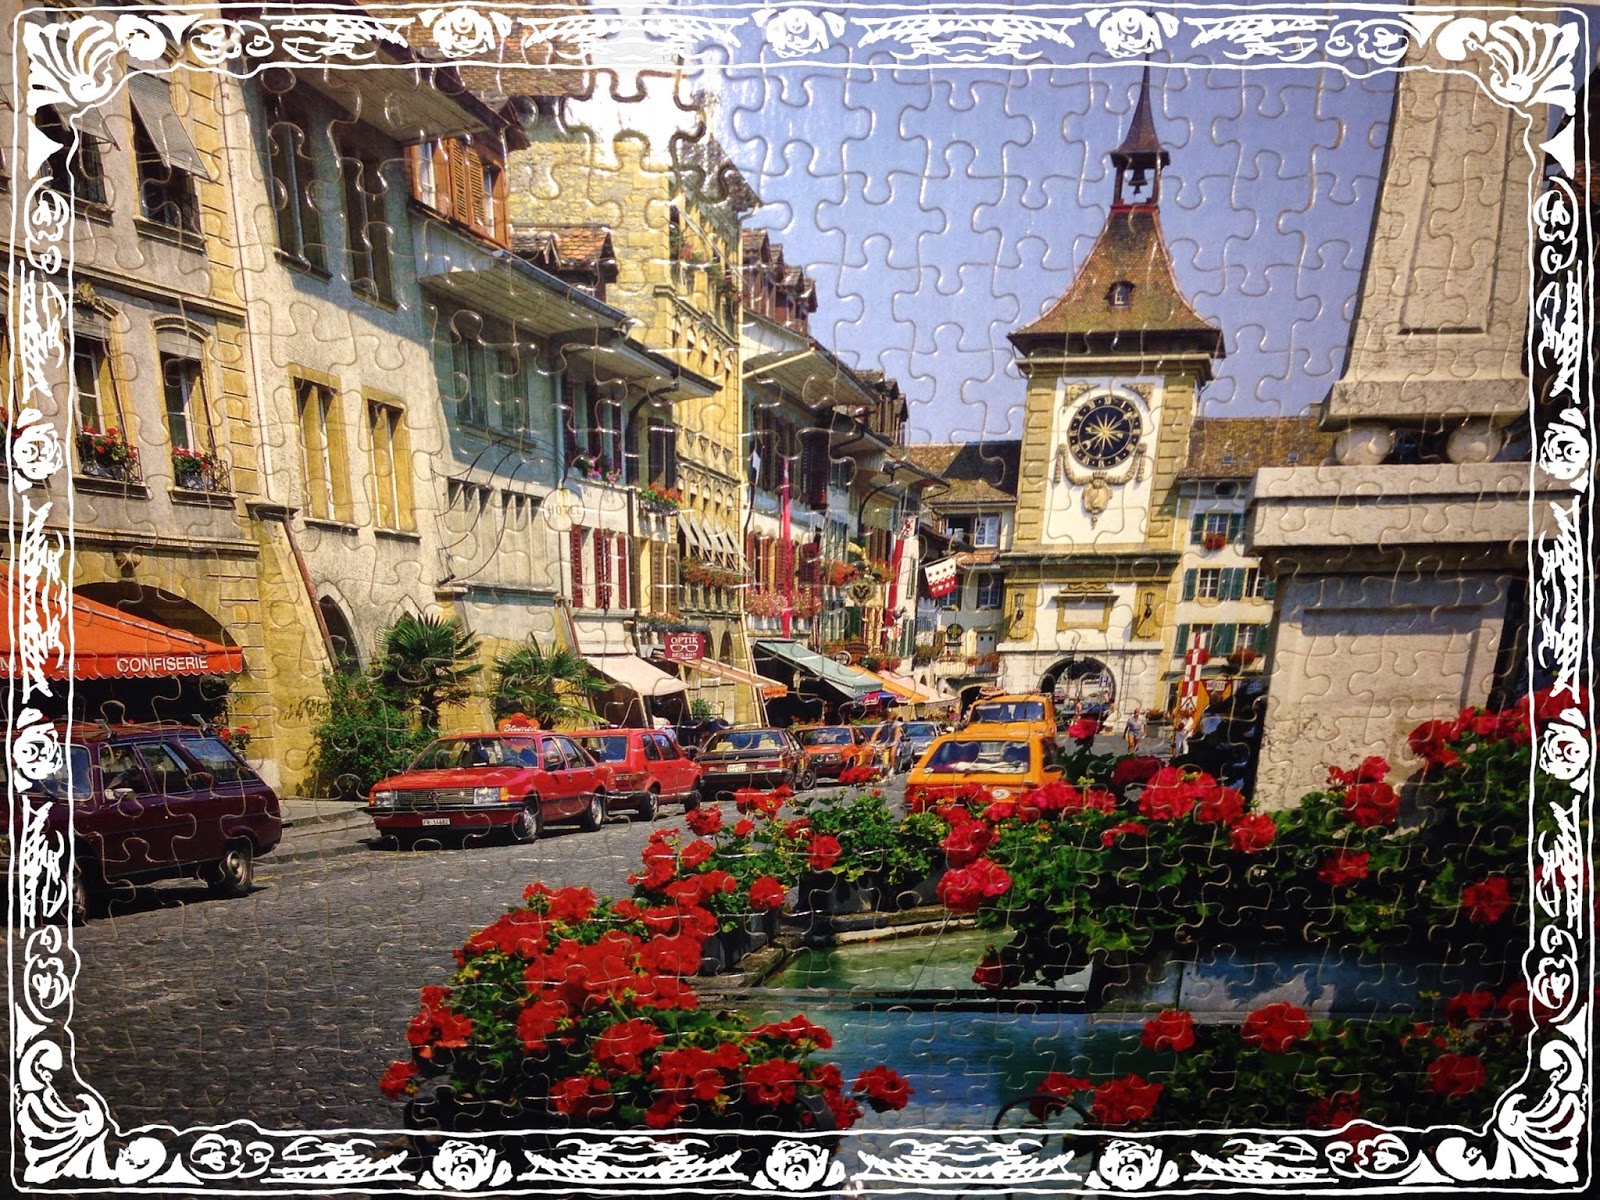
Here is my first puzzle. I started doing these with my dad when I was in high school.

I've made tons of these things. Right now I have these hung up at the apartment.

My "Sunday fun-day sister" helped me do these. Oh and 'fun-day' meant I went to her house to cook, watch Once Upon a Time and work on these puzzles.

I got Wes into puzzles. These are the ones we made together. We are working on another one right now and have one more to do after that.

Enough of my musing, it's craft night!! I like painting my nails. I have no nails and I refuse to grow them out because I don't like long nails but I surely do enjoy painting what little bit I have. LOL I had all my nail polish in a shoe box but that looked too boring so I made this.


Cloth box tutorial-
 (its recycling old stuff and much cheaper than buying a fancy box...recycling + being cheap = a double whammy of winning!)
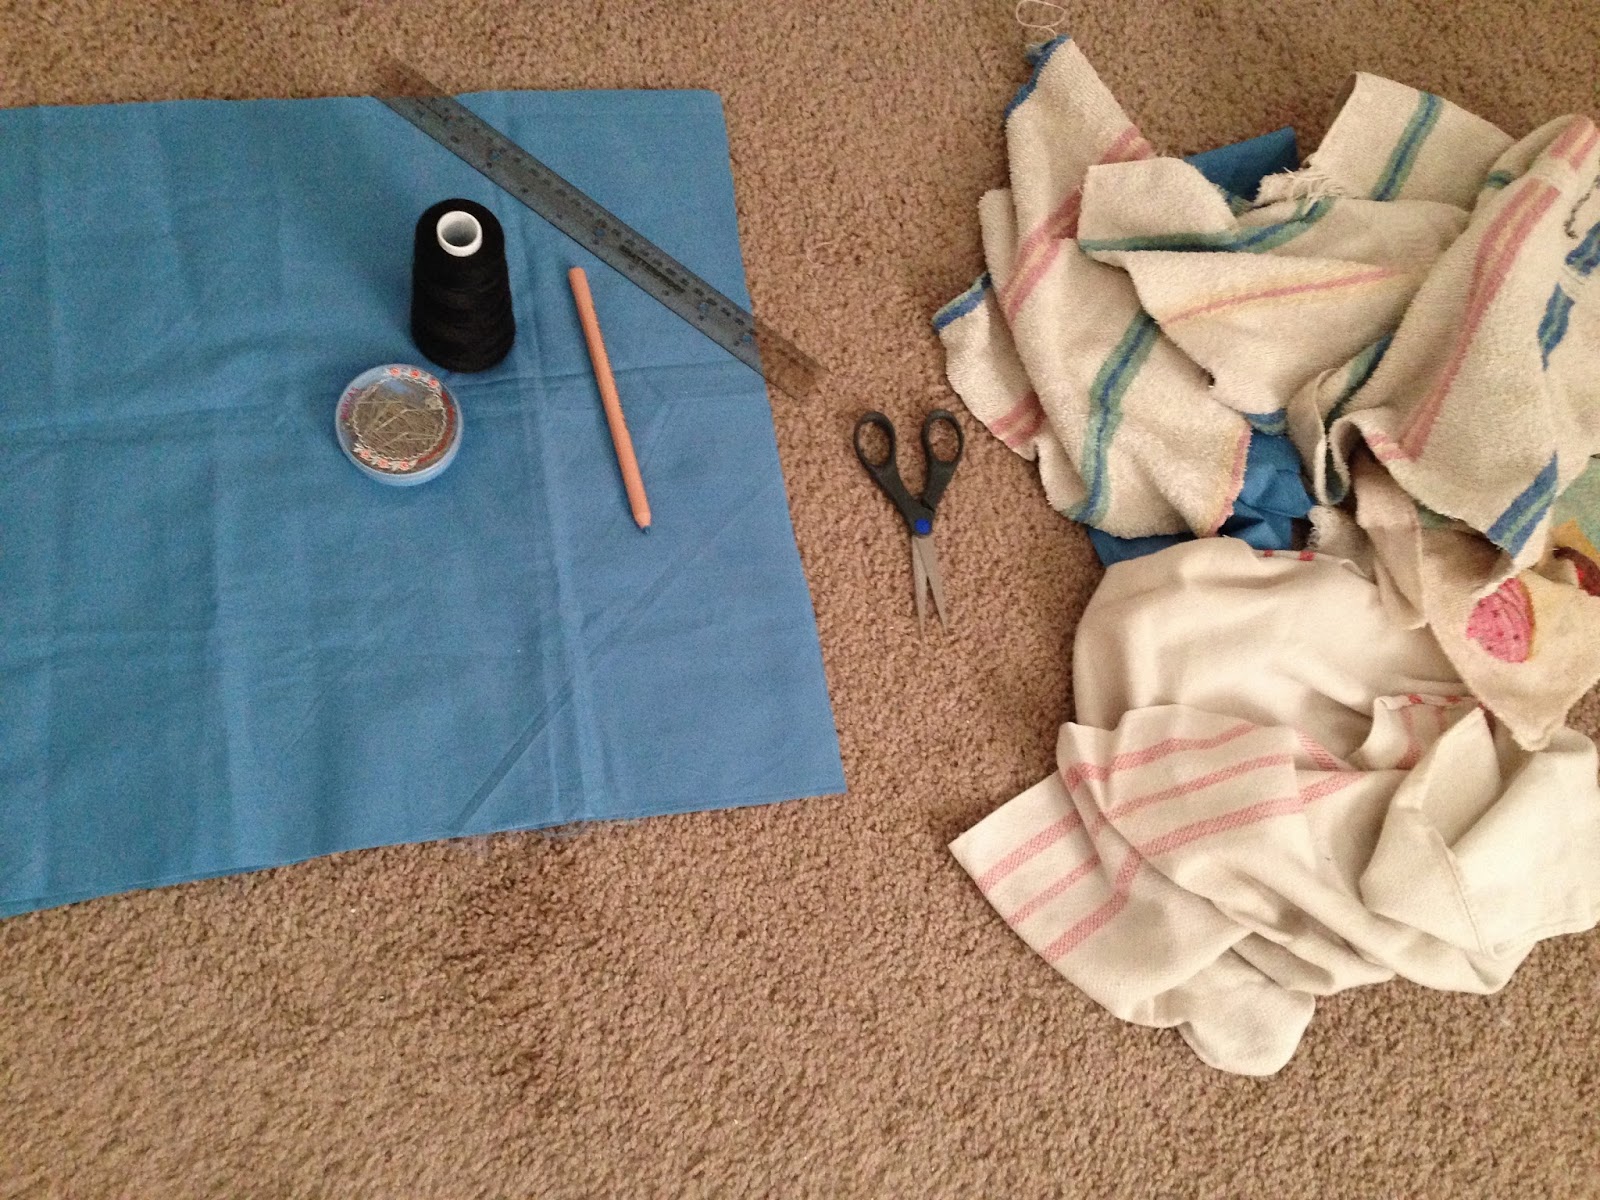
Materials needed: cardboard box, cloth, craft glue, ribbon, scissors

1. Make sure your cloth is about twice as big as your cardboard box.
2. Set your box in the middle of your cloth.
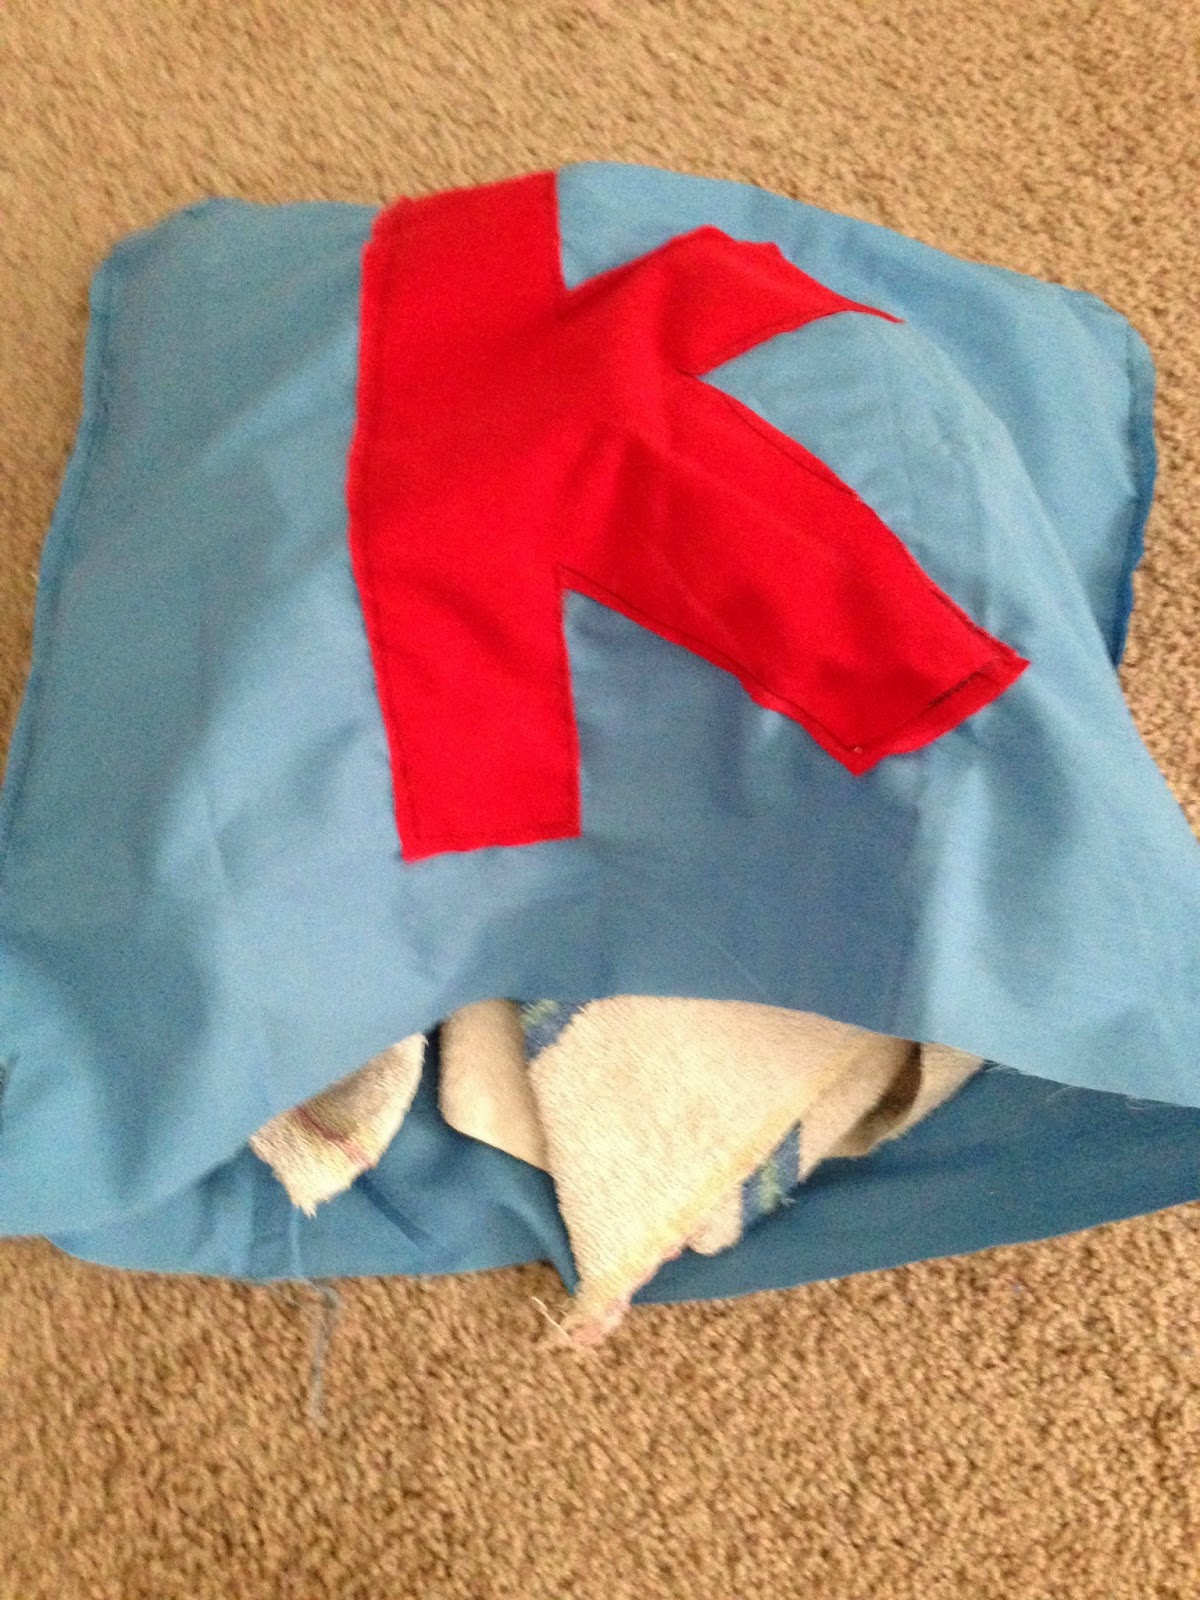
3. Spread glue all over your box. Wrap your cloth tightly around the box and cut off any excess.  I wrapped the cloth all the way around the box and about 2-3 inches into the inside walls of the box. Don't glue down the edges inside the box, yet.
4. Cut a piece of cloth about the size of the inside of your box (I like to cut bigger pieces and trim later). Glue that piece into the center of your box and glue edges along the walls of the box. It can be a little messy since no one will actually see the inside of your box.
5. Glue the excess from the piece that went around the box (step 3) down.
6. Glue a ribbon around the top of your box and tie a pretty bow.

Six steps and that's it! Happy Thanksgiving, everyone : )

Monday, November 17, 2014

Erica is happy to present rags|reborn. !!!!!

I will be thirty in less than a month. I went through a pretty bad mid-life crisis this past summer.

<OMG, I'm turning 30!>
                   <What have I done in my life?>
          <Is my job a real career?>
 <Why don't I have children, a husband, divorce, house, second marriage, refinanced mortgage, more children and all the other things society tells me thirty-year-olds should have accomplished by now?>
                 <Why can't I fit in and be like everyone else?>
                             This last one is a constant struggle like you wouldn't believe.

I thought and prayed and wrote countless entries in my journal while I was in my depressive cocoon of negativity. And now, through my hard work and creative endeavors, I have become a butterfly. Well, I'm not the butterfly, but I have made something that can be the equivalent of the butterfly.

It started with this blog.  I thought, "Hey, if I have a blog, that's something that's MINE. I did this... I have something that I accomplished and am super proud to show off." The tag line to my Monday Craft Night blog is "I sew. I craft. I have big ideas. Great things are coming."


And great things are here! Over the weekend, I set up my Etsy shop. Its supposed to be stylized rags|reborn. but there's already a shop with that name and I can't use symbols... so my shop is RagsRebornGiftshttps://www.etsy.com/shop/RagsRebornGifts

Here's my work station. Desk, notebook, sewing machine and music on my laptop. Sadie loves her bed but hates the sewing machine.

Please visit my shop. Browse and buy, if you'd like. If you're in the Oklahoma City metro area, message me and we can work out a delivery system so you don't have to pay the shipping fee. Here's a sampling of my pillows.  I do totes, too, but you'll just have to head on over to the Etsy shop to see them.


Here is my beautiful sewing machine. Its a hand-me-down from my mom. 

Monday, November 10, 2014

Erica's first full length tutorial!!

I decided to do the dogs' laundry today. (my allergies are killing me!!) One of Kensington's pillows got destroyed in the dryer and, in my fit of throwing pillow debris into the trash, I accidentally threw away one of Sadie's pillow cases. This is the perfect opportunity to do a real full-length tutorial with pictures because I'll have to make a new pillow and pillow case for the pups.


Puppy pillow tutorial:

Materials you'll need: cloth, something to stuff into the pillow (for some reason, Kensington likes sleeping on harder material instead of soft cotton pillow stuffing. So, I'm using old rags and towels for the "stuffing"), pencil, scissors, ruler, thread & needle or a sewing machine, if you have one.


1. Measure and cut the cloth into the size of the pillow you want (you'll need a piece for the front & one for the back).  My two pieces are 19inches wide x 17inches tall and pictured in the materials photo above.
2. Sew whatever decorations you want on the front of the pillow
I decided to stick with something simple.  

3. Sew the two square pieces together around the edges. Only sew three of the four edges together.

4. Stuff the empty pillow with your stuffing and sew the last edge together. If you are using a sewing machine, I find it easier to pin the last edge in place so no stuffing falls out while you're running it through the sewing machine.
 
 All done and on Kensington's bed. Now for Sadie's...

Puppy pillow case tutorial:
Materials you'll need: pillow, cloth, sewing machine or needle & thread, scissors, ruler and buttons (I used the snap on buttons)

1. Measure and cut the cloth. It should be a little bit bigger than the size of your pillow. (two pieces just like in the project above) Mine is a 20x20 inch square.
2. Sew any embellishments you want to the front piece.
                                                        I'm sticking with the simplicity theme
3. Sew three edges together. Affix the buttons on the last edge (using instructions that came with the buttons.)
4. Put pillow in, button it up and you're all done.

See you guys next week!

Monday, November 3, 2014

Ack! Writer's block... the week Erica couldn't think of anything to blog...

I suppose this isn't a bad thing. I'm pretty long winded, usually, so we'll just keep this one short. But I will have lots of pictures because there are dogs involved. And everyone loves precious pictures of Kensington and Sadie. : )

Poor Wes always gets volunteered for in my craft nights.
 
A few months ago, I decided we all needed bows. I think my mom was having us over for a cookout or something and I wanted us all to dress formally. Since it was the middle of summer, I couldn't make actual clothes for my already furry dogs so I accessorized.
 
Kensington wasn't in a cuddly mood. Note boxie is always my faithful art companion!
 
Cloth no-sew bow tie tutorial:
     materials needed - cloth (I used two colors), scissors, hot glue, a ruler, Velcro
 
1. Measure and cut a strip of cloth a little bit longer than your neck, head, or whatever you intend to tie a bow on. The width of your cloth should be thicker than the actual width you want to have upon completion. I made my strips of cloth about a foot long and 3inches wide.
2. Lay the strip of cloth flat and fold the top & bottom edges into the middle and hot glue. Then fold the left & right edges about a centimeter in and hot glue. Now, your strip of fabric should look like one solid piece with no frayed edges.
3. Put that aside and grab another piece of cloth to make the actual bow part.  Cut a square the size you want your bow to be. Fold the square piece into a few accordion folds. You can fuss with it until you get the desired bow shape.
4. Cut one last small piece of cloth to wrap around the center of your bow. Once the bow is in place, put a tiny dab of hot glue on the back so the accordion folds don't unfold. Hot glue the bow, strip of cloth in the middle, and strip of cloth from step 2 together on the back of the bow tie. Now all three pieces should be connected.
5. Stick your Velcro to the ends of the bow tie and there you have it. I used different colors for the different pieces of fabric for my and Sadie's bows. Wes and Kensington just got plain ones but no one complained.