Showing posts with label decorative box. Show all posts

Monday, January 12, 2015

When too stressed to post a tutorial, Erica will just write about dogs.

The last few months of 2014 were a crazy roller coaster. I survived and now 2015 is here. While I appreciate life lessons and adventures, I'm hoping to have a relaxing and much calmer January. I have to admit that I'm a little crafted out. (Can it be?!?! o_O) I made over 75% of my Christmas gifts and I added a lot of new products to my Etsy shop...maybe I do need a break! While I was perusing the Etsy blog, I came across this article. https://blog.etsy.com/en/2014/4-perks-of-working-with-pets


I totally agree with the article. Sadie and Kensington are always welcome guests to my craft nights. They definitely provide stress relief and inspiration. And a lint roller has become an actual craft supply! Almost all of my projects are either gifts or something for the dogs. Sadie lives under my desk...she used to be deathly afraid of the sewing machine, but now she stays in her bed while ole Kenni is running.


Over the years, Kensington learned to not trample or destroy my crafts and supplies, as they were always laid out around the apartment. Sadie hasn't quite learned that, yet, but she sure does love helping (aka being as close to me as possible without getting glued or glittered).

One of the crazy end-of-2014 events was Kensington's passing. He had a terrible cough and his little lungs eventually gave out. I'm sure he's enjoying every bit of puppy heaven. Here's a throw back to my November 24th blog. (It was the cloth covered decorative box tutorial...just in case you didn't read that one). Wes and I made one for Kensington a week or so ago. I thought it'd be appropriate to share since Kensington passed about a month ago today. The only difference in this box and the one I made in the tutorial is the the burlap.  I used hot glue to glue around the edges and let it overlap about an inch into the inside of the box. The beauty of these decorative boxes is that they're run-of-the-mill cardboard and scraps of cloth. But after you put it all together, they look like the nice fancy boxes you can buy from Hobby Lobby or Target.


Monday, November 24, 2014

Fact: Erica likes to do puzzles on weekends.

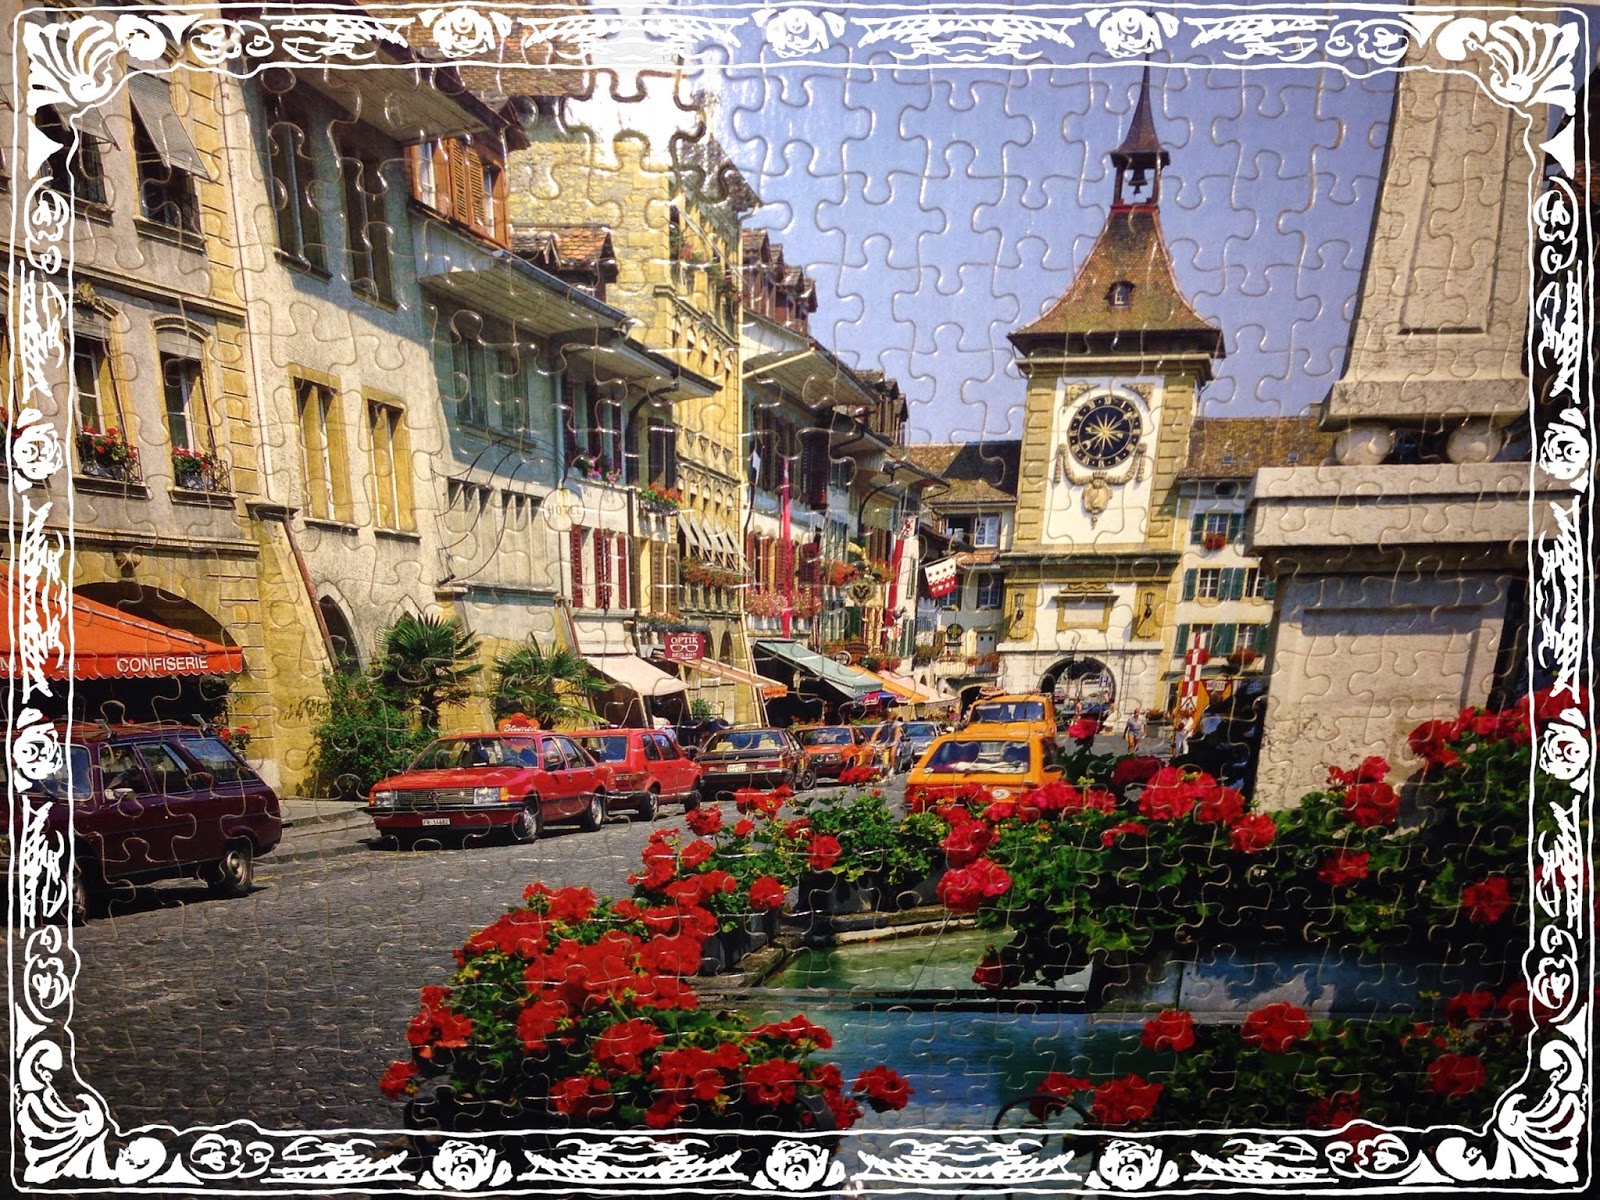
I've gotten to the stage in my life where I have long left my partying days behind and now my idea of a fun weekend is hanging out with Wes, my fur babies, my crafts and my sewing machine.  A hobby I enjoy is puzzling. I started with a 500-piece and went up from there.

Here is my first puzzle. I started doing these with my dad when I was in high school.

I've made tons of these things. Right now I have these hung up at the apartment.

My "Sunday fun-day sister" helped me do these. Oh and 'fun-day' meant I went to her house to cook, watch Once Upon a Time and work on these puzzles.

I got Wes into puzzles. These are the ones we made together. We are working on another one right now and have one more to do after that.

Enough of my musing, it's craft night!! I like painting my nails. I have no nails and I refuse to grow them out because I don't like long nails but I surely do enjoy painting what little bit I have. LOL I had all my nail polish in a shoe box but that looked too boring so I made this.


Cloth box tutorial-
 (its recycling old stuff and much cheaper than buying a fancy box...recycling + being cheap = a double whammy of winning!)
Materials needed: cardboard box, cloth, craft glue, ribbon, scissors

1. Make sure your cloth is about twice as big as your cardboard box.
2. Set your box in the middle of your cloth.
3. Spread glue all over your box. Wrap your cloth tightly around the box and cut off any excess.  I wrapped the cloth all the way around the box and about 2-3 inches into the inside walls of the box. Don't glue down the edges inside the box, yet.
4. Cut a piece of cloth about the size of the inside of your box (I like to cut bigger pieces and trim later). Glue that piece into the center of your box and glue edges along the walls of the box. It can be a little messy since no one will actually see the inside of your box.
5. Glue the excess from the piece that went around the box (step 3) down.
6. Glue a ribbon around the top of your box and tie a pretty bow.

Six steps and that's it! Happy Thanksgiving, everyone : )