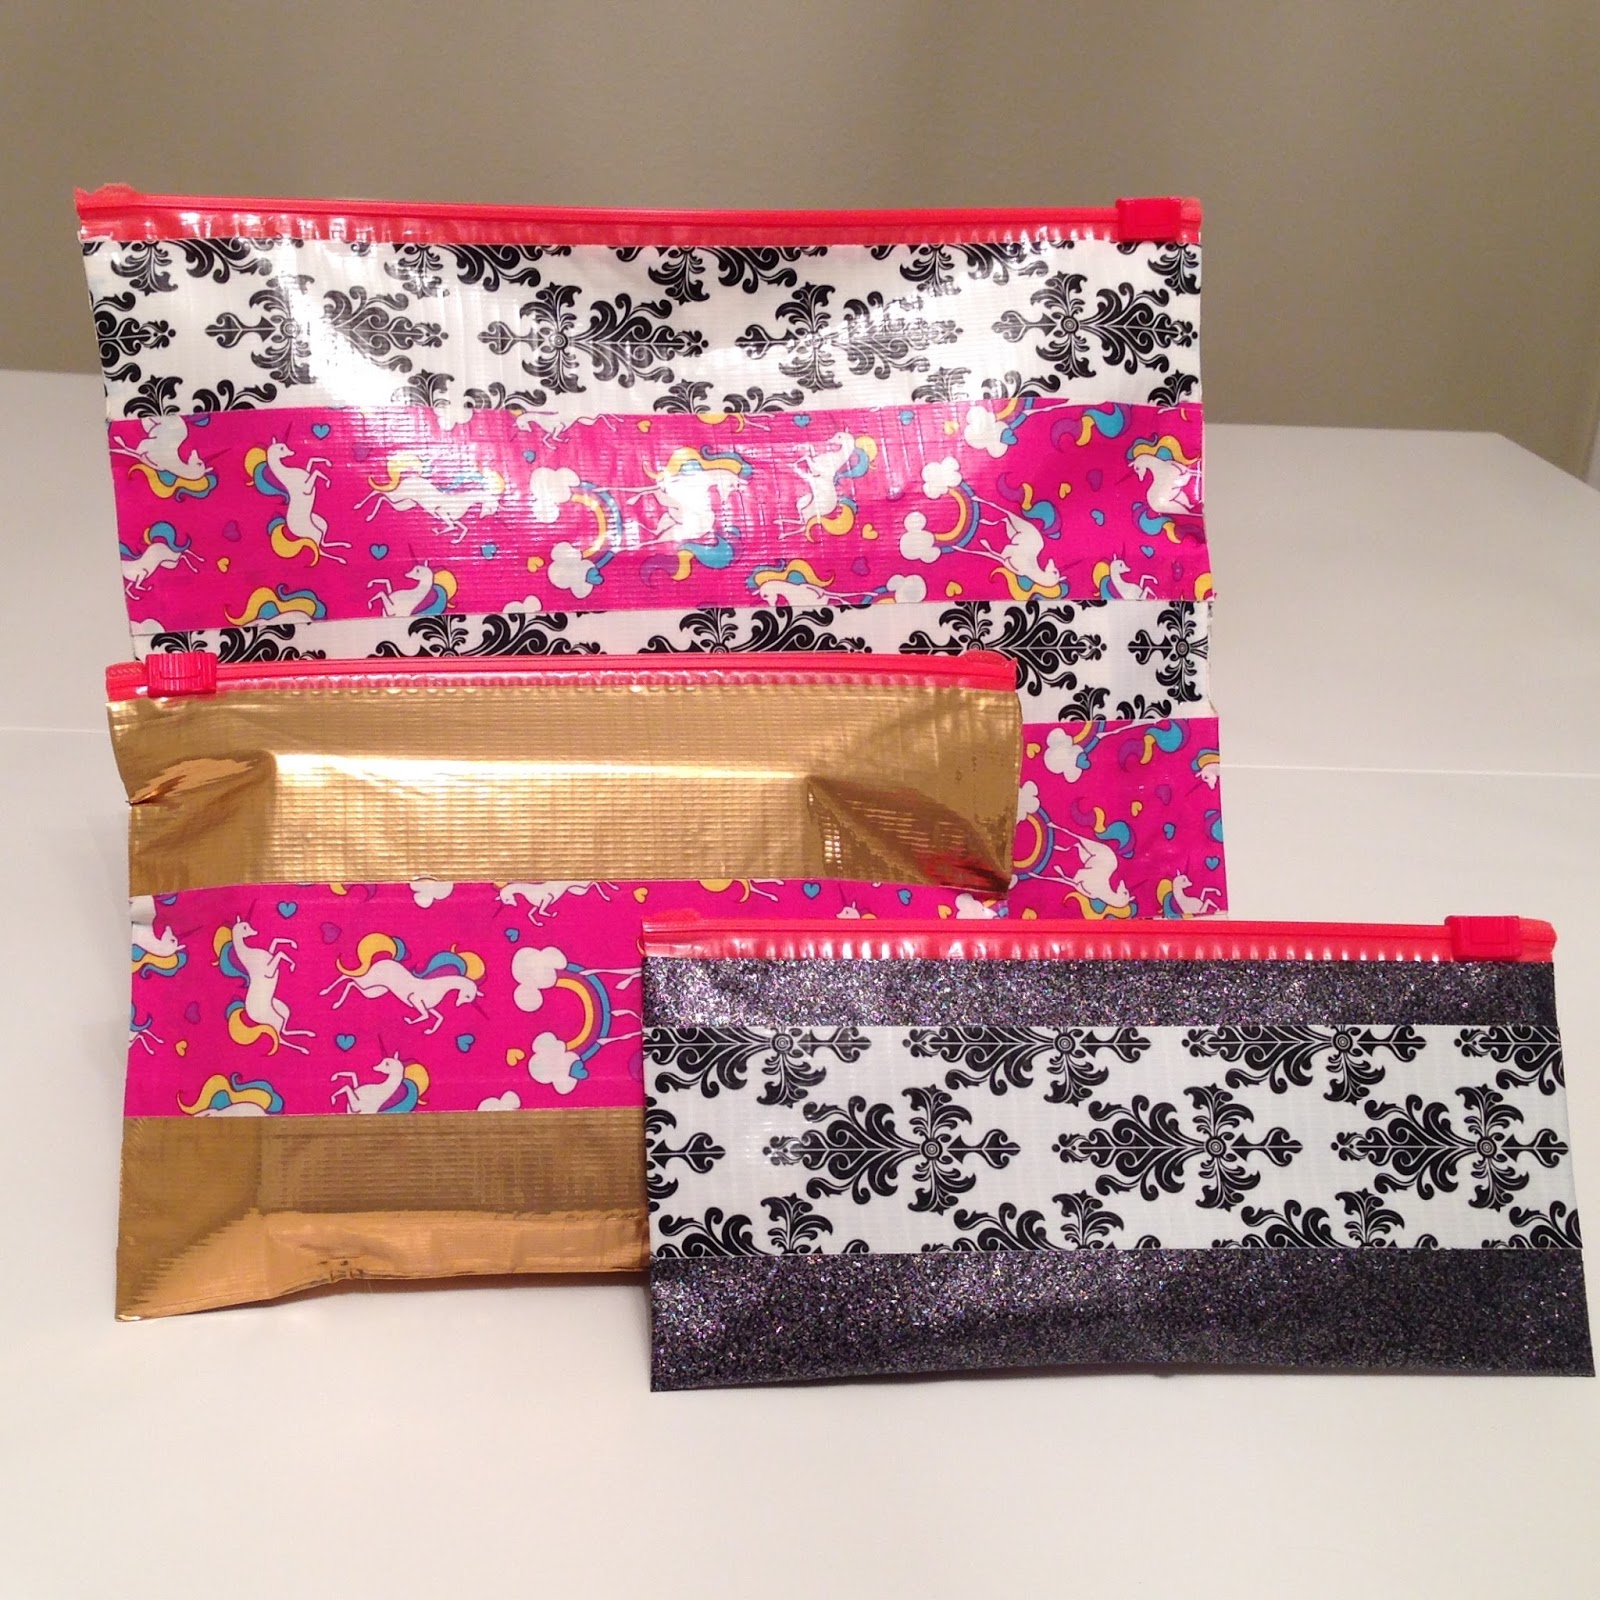
Can you believe these are made of plastic sandwich bags and Duct tape? They're so cute!
Yay, a DIY blog! Monday Craft Night is back. Sorry it has been a while (craft shows have taken priority this month). A couple of weeks ago, I came across one of those "Duct tape hack" videos on Facebook. I normally don't find those videos very inspiring (and most of the time, the "hack" takes more time to perform than the problem its trying to solve... just buy a bathroom rug or fix a leak the old fashioned way!) But, the project in this video was simple and the supplies were cheap. I invited Lacey over and we recreated the project.

I saw this majestic unicorn Duct tape and knew that I needed it in my life!

DIY Cosmetic Pouch Tutorial-
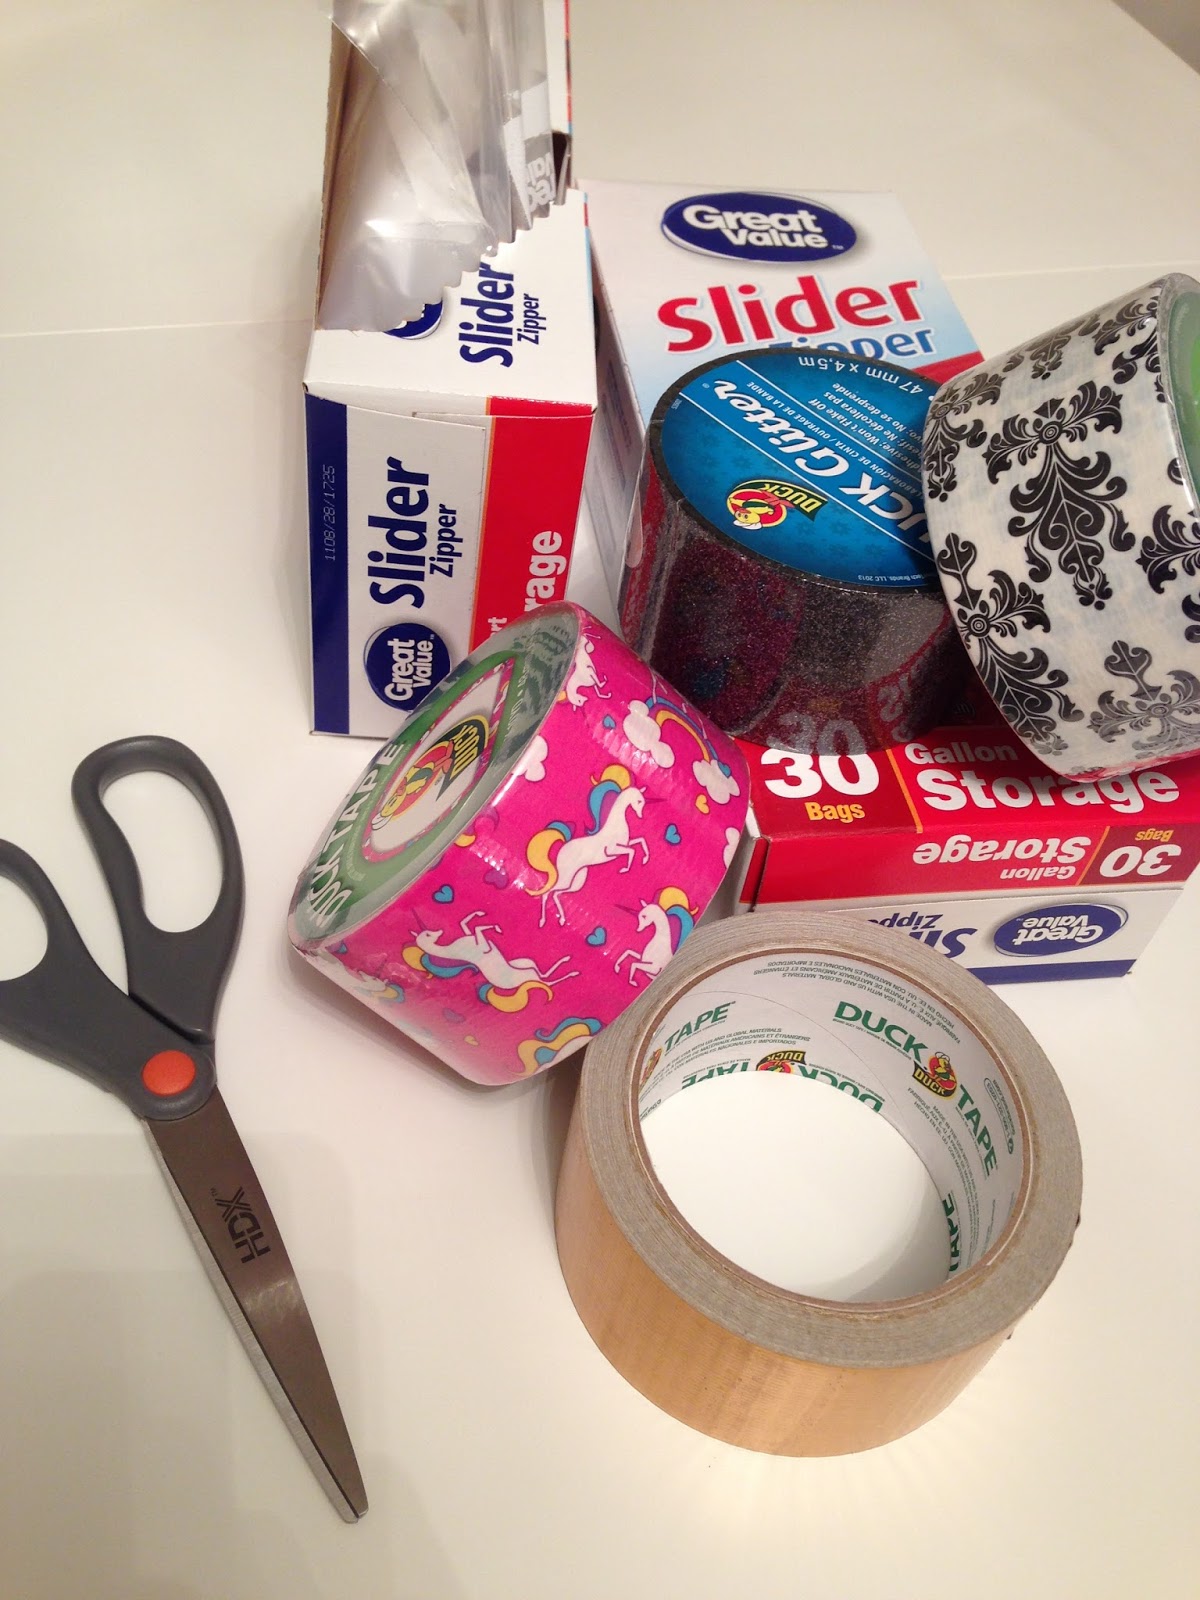
Materials needed: Duct tape, sliding zipper plastic sandwich bags, scissors

1. Decide what you want to put in the finished pouch. Using that as a guide, measure how big you want the pouch to be.

2. If you want the pouch to be smaller than the original size of the sandwich bag, fold it to the new desired size and tape it in place.

3. Cover the sandwich bag in Duct tape. Make sure to tape both front and back sides of the sandwich bag. Although the Duct tape was super sticky, I still found it fairly easy to tear pieces off of the sandwich bag if I accidentally placed it in the wrong position. To avoid air bubbles, I found it best to place the Duct tape on one end of the sandwich bag and slowly press it down, moving from one end to another, instead of placing the entire piece of tape on the sandwich bag at once. Also, be cautious of the zipper at the top of the sandwich bag. I stopped taping just underneath the red zipper.

4. Repeat step #3 so there are two layers of Duct tape over the sandwich bag. (You can probably do multiple layers depending on what you plan to store in the finished pouch and how hefty you want it to be but I stuck with two layers.)
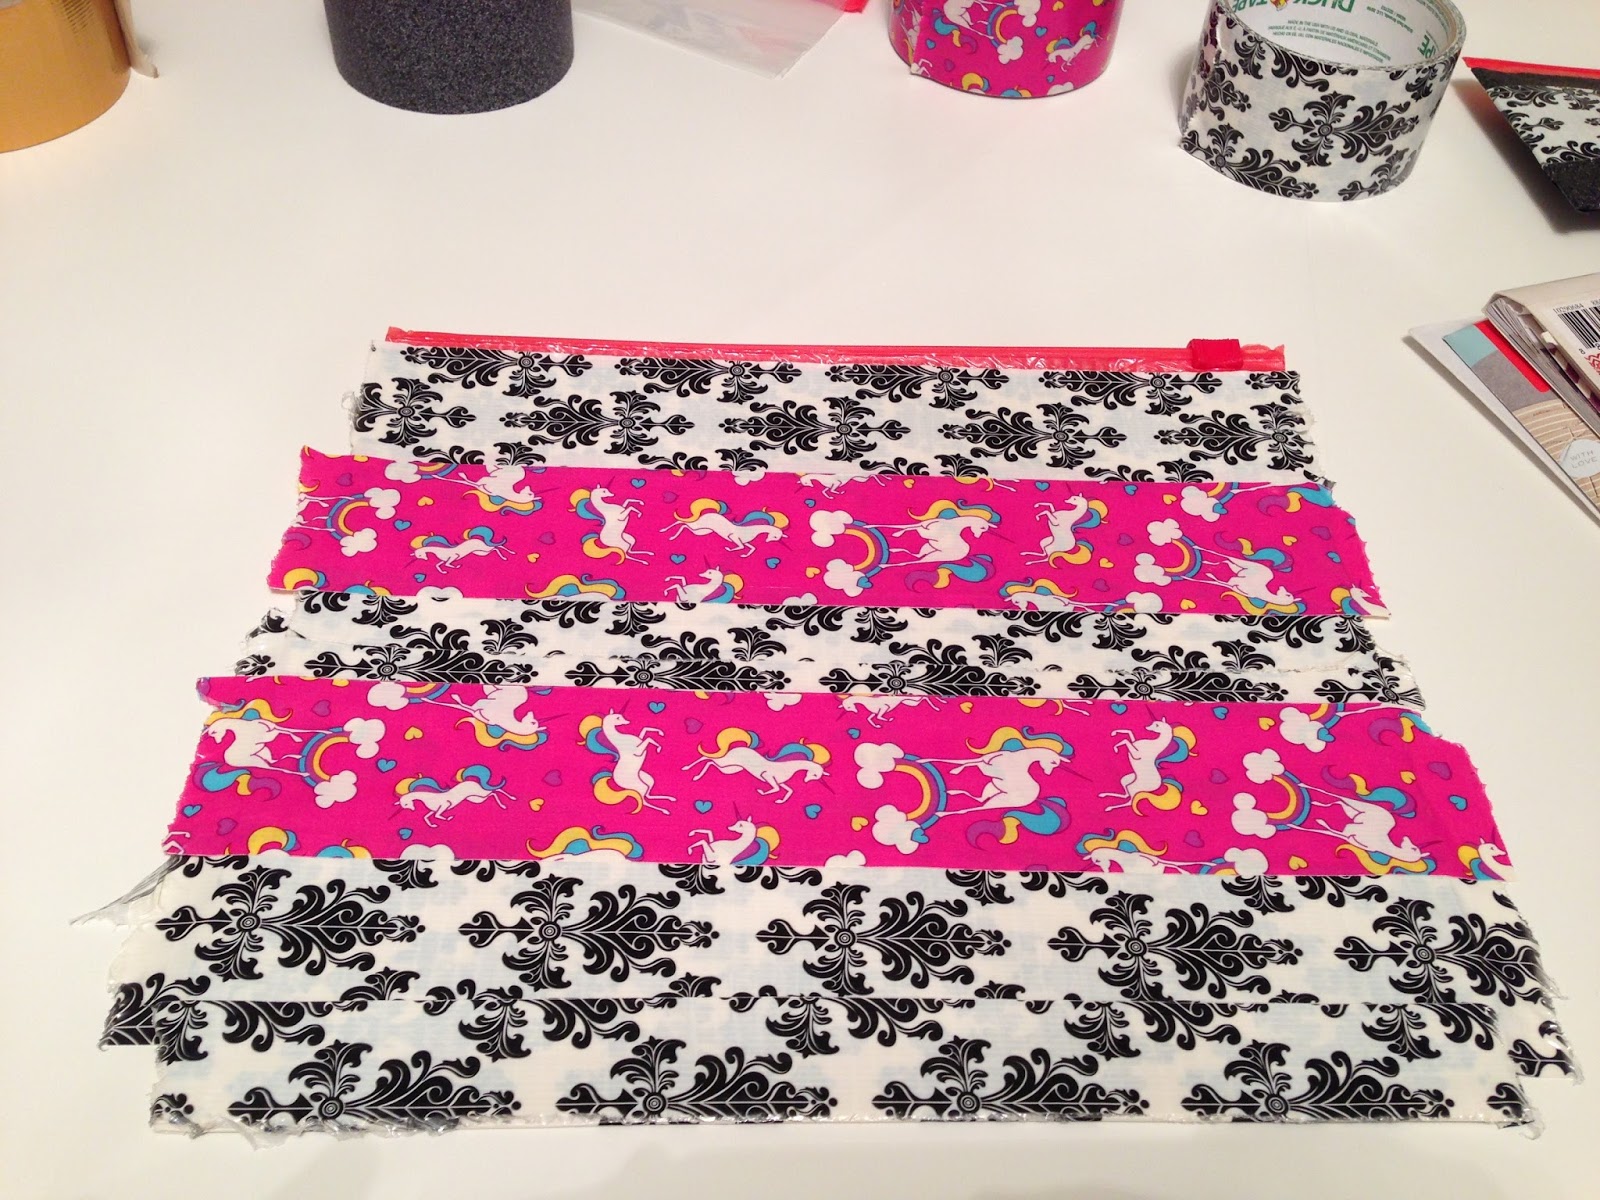
5. For the first layer of Duct tape, I folded the edges of the Duct tape over (as shown in the picture above step #3). For the second layer of Duct tape, I left the edges hanging over. Once you're completely finished taping, cut all the extra tape off the edges of the sandwich bag.

Athena enjoys crafting with us!
All done! In about 15 minutes, $10 worth of supplies and five easy steps, you've got a nice collection of matching pouches.

Love them
ReplyDelete