Showing posts with label easy crafts. Show all posts

Monday, October 16, 2017

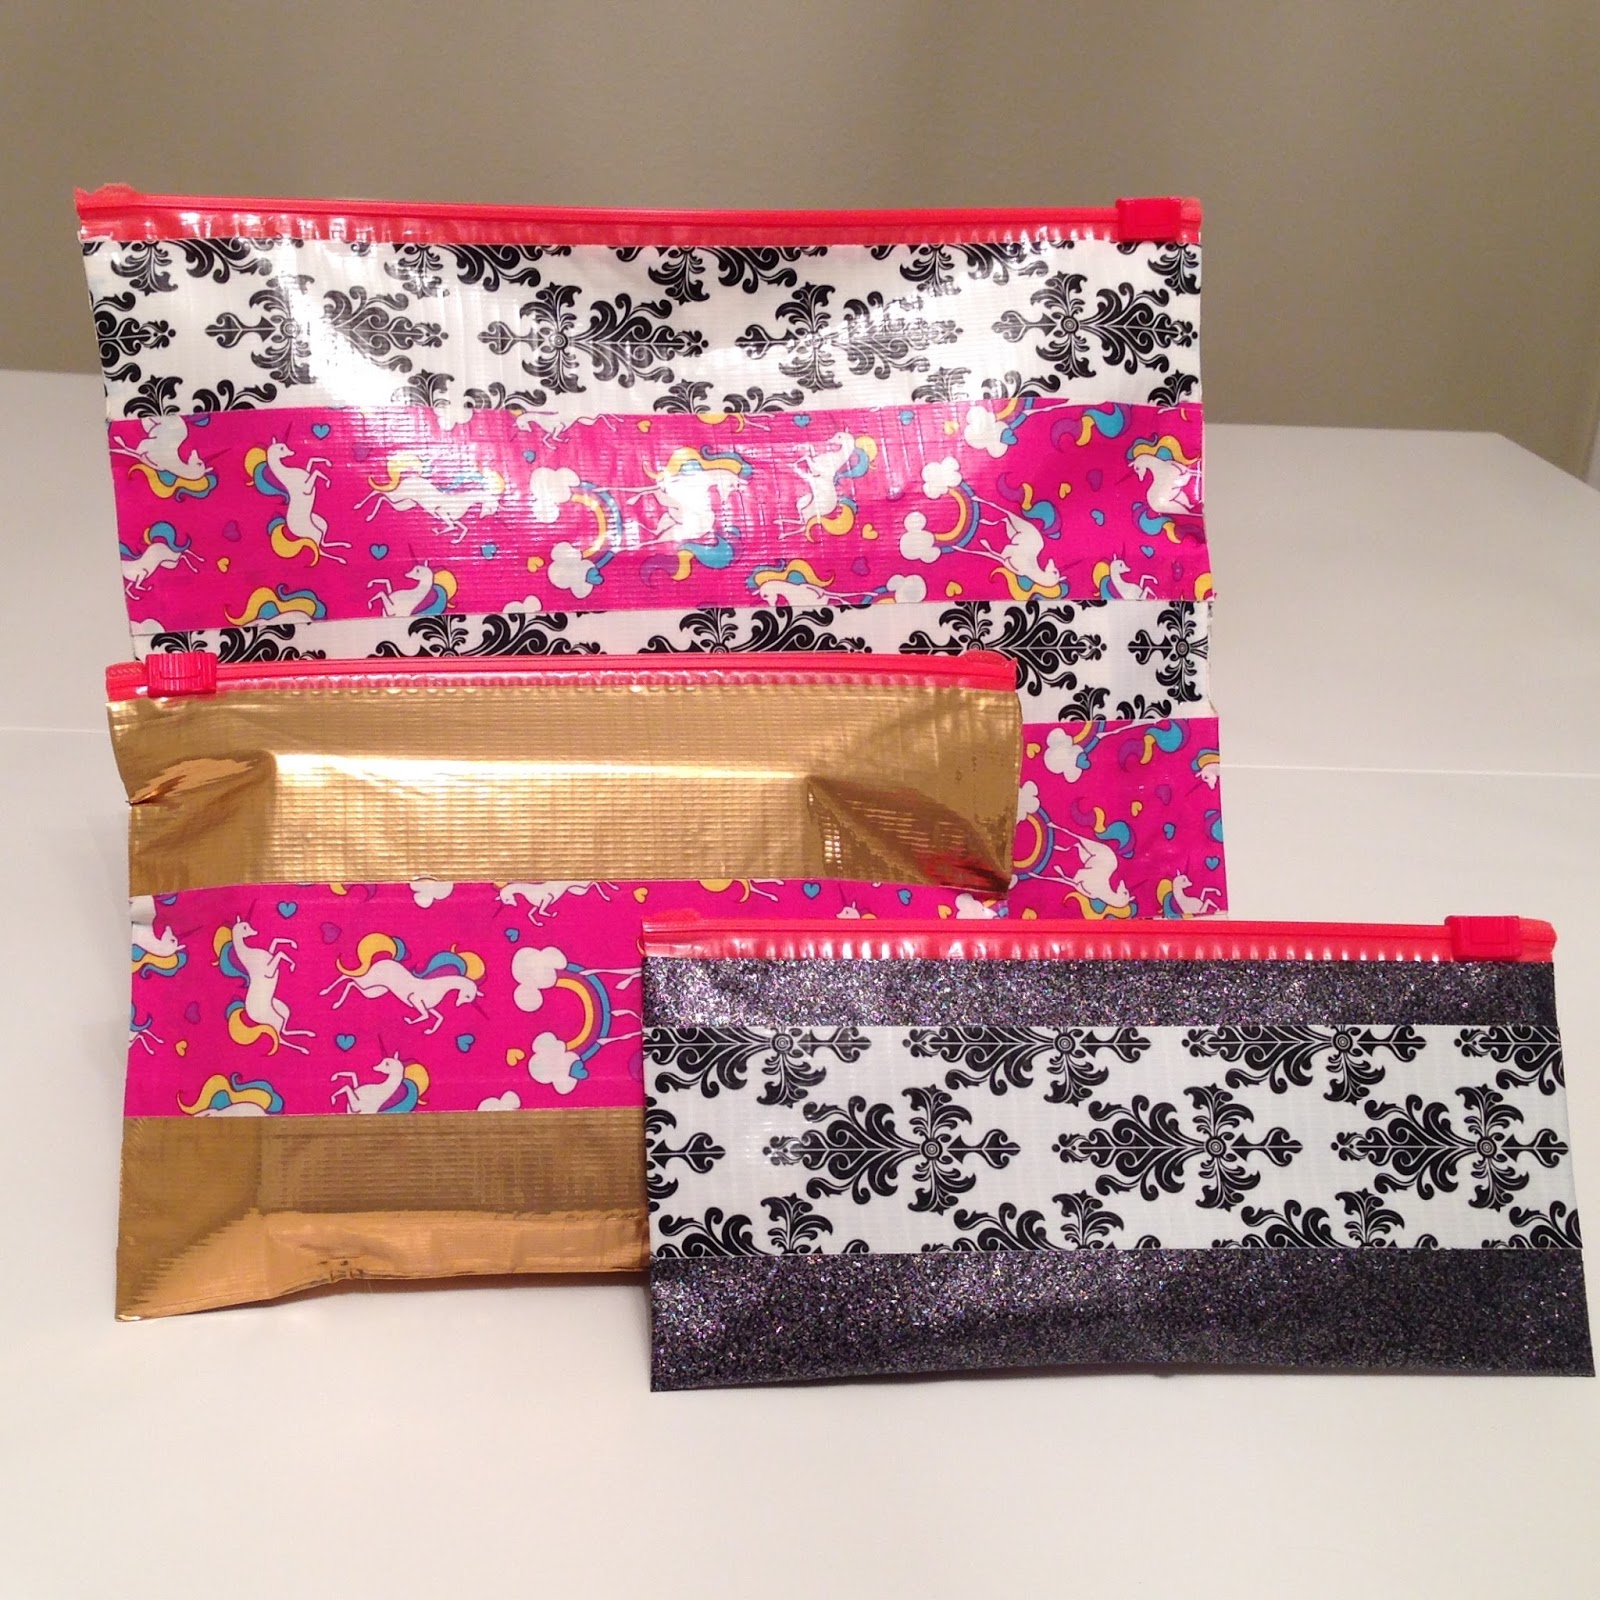
Erica and Lacey make cosmetics pouches.

Can you believe these are made of plastic sandwich bags and Duct tape? They're so cute! 

Yay, a DIY blog! Monday Craft Night is back. Sorry it has been a while (craft shows have taken priority this month). A couple of weeks ago, I came across one of those "Duct tape hack" videos on Facebook. I normally don't find those videos very inspiring (and most of the time, the "hack" takes more time to perform than the problem its trying to solve... just buy a bathroom rug or fix a leak the old fashioned way!) But, the project in this video was simple and the supplies were cheap. I invited Lacey over and we recreated the project.
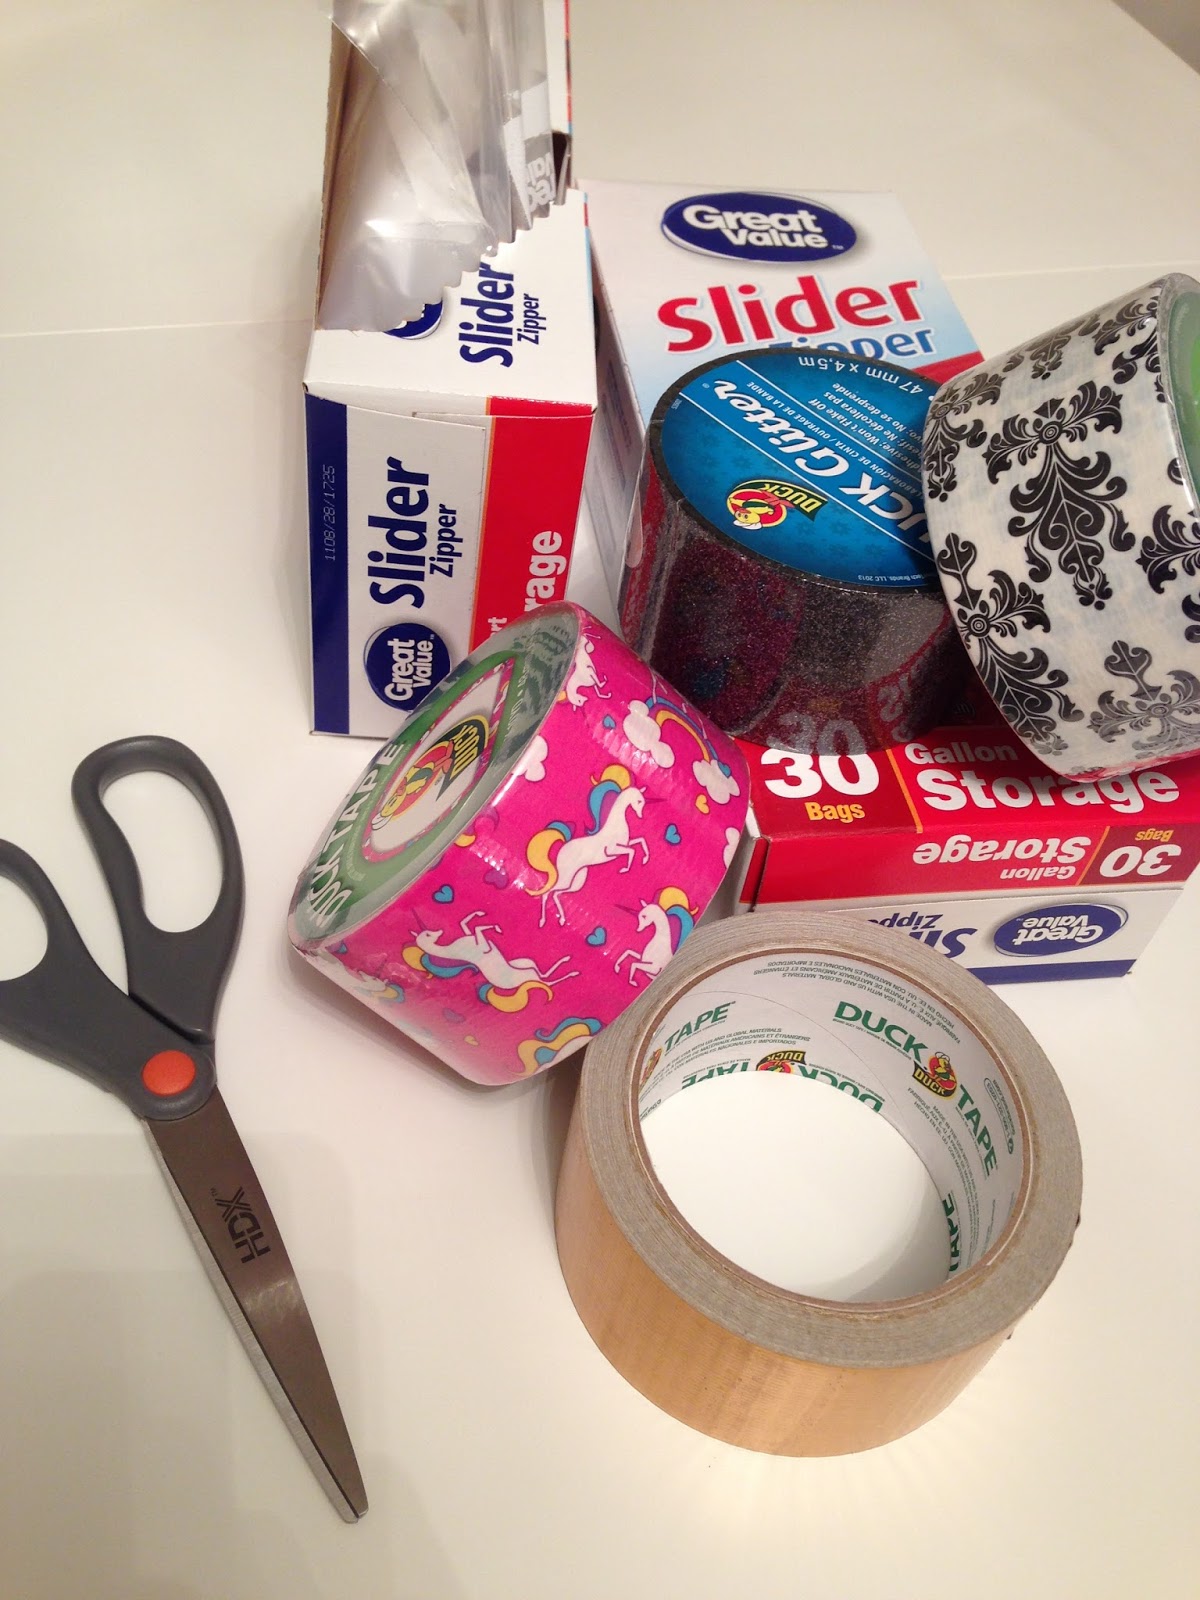
I saw this majestic unicorn Duct tape and knew that I needed it in my life! 

The cosmetics pouches turned out to be so friggin' adorable! Duct tape comes in so many printed designs (did you know that it is also now stickier than ever? The packaging proclaimed that the adhesive formula is stronger. Too sticky in my opinion.) and sandwich bags come in so many different sizes. The sky is the limit with this DIY project. The pouches don't have to just be for cosmetics, either. My craft supplies box was a mess so I'm using mine for organizing craft supplies instead.

DIY Cosmetic Pouch Tutorial-
Materials needed: Duct tape, sliding zipper plastic sandwich bags, scissors

1. Decide what you want to put in the finished pouch. Using that as a guide, measure how big you want the pouch to be.

2. If you want the pouch to be smaller than the original size of the sandwich bag, fold it to the new desired size and tape it in place. 

3. Cover the sandwich bag in Duct tape. Make sure to tape both front and back sides of the sandwich bag. Although the Duct tape was super sticky, I still found it fairly easy to tear pieces off of the sandwich bag if I accidentally placed it in the wrong position. To avoid air bubbles, I found it best to place the Duct tape on one end of the sandwich bag and slowly press it down, moving from one end to another, instead of placing the entire piece of tape on the sandwich bag at once. Also, be cautious of the zipper at the top of the sandwich bag. I stopped taping just underneath the red zipper. 

4. Repeat step #3 so there are two layers of Duct tape over the sandwich bag. (You can probably do multiple layers depending on what you plan to store in the finished pouch and how hefty you want it to be but I stuck with two layers.) 
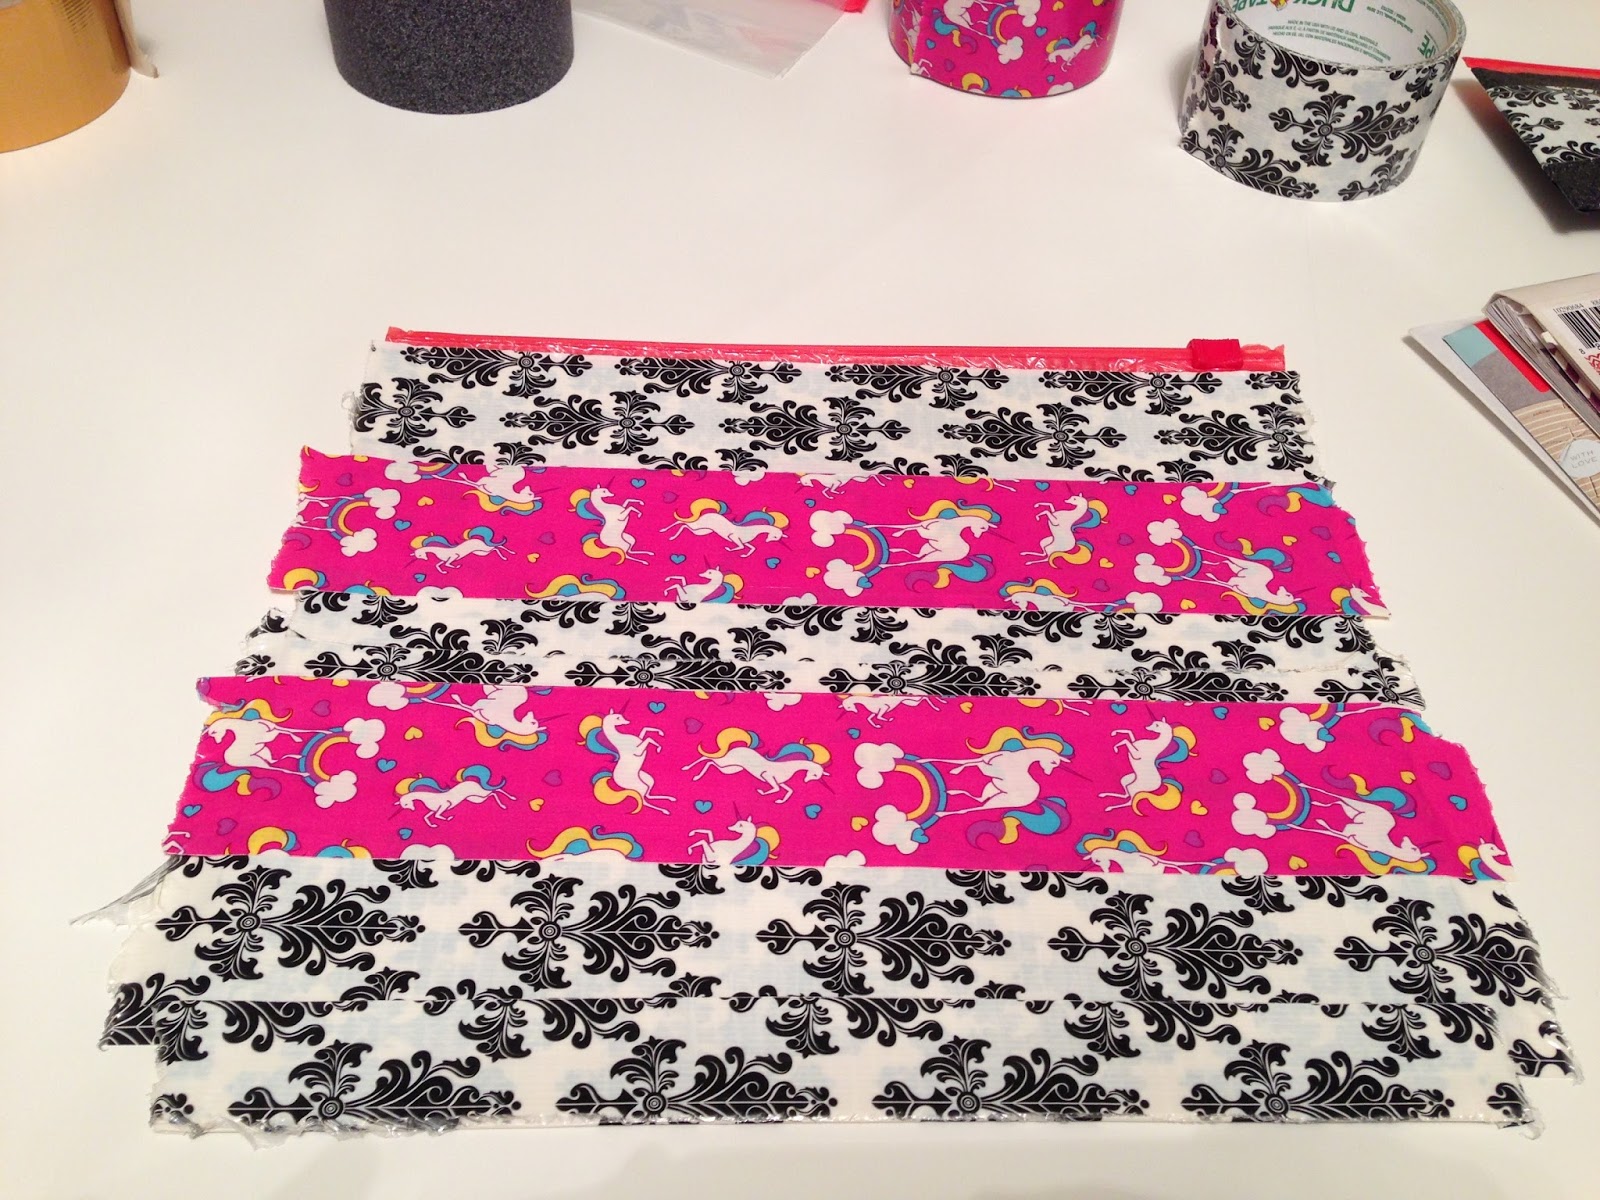
5. For the first layer of Duct tape, I folded the edges of the Duct tape over (as shown in the picture above step #3). For the second layer of Duct tape, I left the edges hanging over. Once you're completely finished taping, cut all the extra tape off the edges of the sandwich bag. 
Athena enjoys crafting with us!

All done! In about 15 minutes, $10 worth of supplies and five easy steps, you've got a nice collection of matching pouches.


Monday, June 5, 2017

Erica makes a hanging plant holder.

Happy Monday and ... guess what? I'm finally writing another DIY arts n' crafts blog post!! I haven't written one since last Christmas. 'Bout time, right? LOL This idea comes from a client of mine. She stopped by my Wanderlust show to drop off a shirt that she needed to be sewn into a pillow for a birthday gift. As we were chatting, she asked if I've ever made hanging plant holders. I hadn't so she showed me the quick 30-second Nifty or Buzzfeed (don't remember which one it was so I can't properly cite my source) video from Facebook. These plant hangers are all over Etsy and are super cute for summer home decor. I looked at a few other pictures and told Betsy, "Sure, I can do that!" So here we go... seven simple steps to turn an old t-shirt into a hanging plant holder.


Upcycled T-Shirt Hanging Plant Holder Tutorial-
       Materials needed: gently worn t-shirt (or any other knit or jersey fabric), scissors and sewing machine or needle & thread

1. Cut the t-shirt or fabric into eight 1 -1.5 inch strips.
       *For a plant holder, make sure each strip is at least a yard in length. (It looks like a lot but the strips will shrink as you start tying them into knots.)
       *For a growler bottle holder, strips can be shorter - about 24 inches.
a) If making multicolored plant hanger, cut all the different materials into equal length and sew together for desired total length.
b) If adding separate colored fabric for tassels at the bottom, cut those at 12 inches each.
c) If adding separate colored fabric for braided handle, cut 6 strips at 22 inches each.

2. For tassels ONLY - gather the top of all eight strips of fabric together and place the tassels pieces in between the eight pieces. Sew together by hand (unless your sewing machine is heavy duty and can sew through all of the layers.)
Then tie a single knot at where the strips of fabric and tassels meet. This knot is for decorative purposes only since the pieces are already sewn together. I tied my single knot exactly where my stitching was in order to hide it.
If you are not adding tassels, gather all eight strips of fabric together at one end and tie together in a single knot at the base. Leave a few inches (or any desirable length) hanging loose under the single knot.
This will be the bottom of your plant holder. You'll basically be making the project upside-down.

3. Lay the tied piece of fabric out on a large surface with the knotted end pointing toward the top. Separate the eight pieces into four pairs. Tie each pair into a single knot, i.e, piece A will be tied to piece B, piece C will be tied to piece D and so on and so forth.

4. Separate the middle six pieces into pairs and tie into single knots again, as in step #3.

5. Tie the two remaining outer pieces into a single knot.
Now the project should look like a basketball net without the opening at the bottom. You should be able to fit a round object inside of the project, if not, untie the knots and start over (sometimes the spacing between the knots is too big/small or the pieces got tangled and the knots don't end up in the correct position).

6. Hang the project onto a hook and continue to gather the fabric pieces into pairs and tie the pairs into single knots.
I found it easier to "dress" a household item with the project while tying the knots. This helps with gathering the pairs and tying the single knots equal distance to each other.

7. For braided handles ONLY- tie the handle pieces to the loose ends of the project with a single knot. Then braid the handle pieces and tie together at the top. If you are not wanting to add a braided handle, tie the loose ends together to finish the project.

And there you have it! A fun and trendy project you can make basically for free and in less than an hour. They're great for hanging pots, bottles, planters and bowls of all sizes as the spacing can be adjusted by tying the knots closer together or further apart. If you would rather someone else make a hanging plant holder for you, well, I'm here for ya! I won't be adding these to my craft show project line up but if you want one, please let me know (ragsreborngifts@gmail.com). I can make them as custom orders and I'm only charging $5 each!
Here's the one I made for a client. She's really pleased with it and her plant fits perfectly!