Monday, December 26, 2016

Erica shops local for Christmas gifts.

Mommy tote bag, bib-cape, children's book, headband, crocheted ornaments and bracelet for the Sapp family.

I hope everyone had a wonderful holiday this weekend. (and if you didn't celebrate, I hope you at least got to enjoy a few extra days off work! I was off work from December 23 - 26th and it was pretty wonderful.)
Olive wood sculptures from the Holy Land and local coffee for my mom's husband, Mike.

It is currently 2:14pm on Christmas day--even though this blog won't be posted until tomorrow--and I am officially two thirds of the way through my Christmas activities. Last night, I went to mass with my mom & her husband. Wes & I had a nice breakfast with his brother, their mom and her boyfriend this morning. We are taking a quick break now, and the grand finale will be dinner at my mom's house this evening.
Hand-painted and personalized brick door stopper for my mom.

All year (actually ever since RagsReborn was formed), I have been encouraging--maybe nagging-- everyone to go out to local craft shows and scope out all of the talented artists & vendors. Once November rolled around, I really harped on everyone to shop local for their Christmas presents. Unique, handmade and thoughtful are the best type of Christmas gifts. This year, I did about 90% of my Christmas shopping at craft shows. (For the other 10%: I handmade about 5% and had to begrudgingly purchase the last 5% from established retail chains.)
Children's book, an Oklahoma charm necklace and bracelet for the DeArment family.

Since almost all of my presents will be delivered by the time this blog gets posted, I will go ahead and post pictures of all of my gifts that I either handmade or purchased from a local artist at a craft show. I was sure to affix business cards to all of my local gifts so the recipients could go back and shop more from that vendor if they enjoyed the gift. I hope whoever has purchased pillows from me as gifts does the same for RagsReborn. Repeat business and referrals are the best for small business owners.
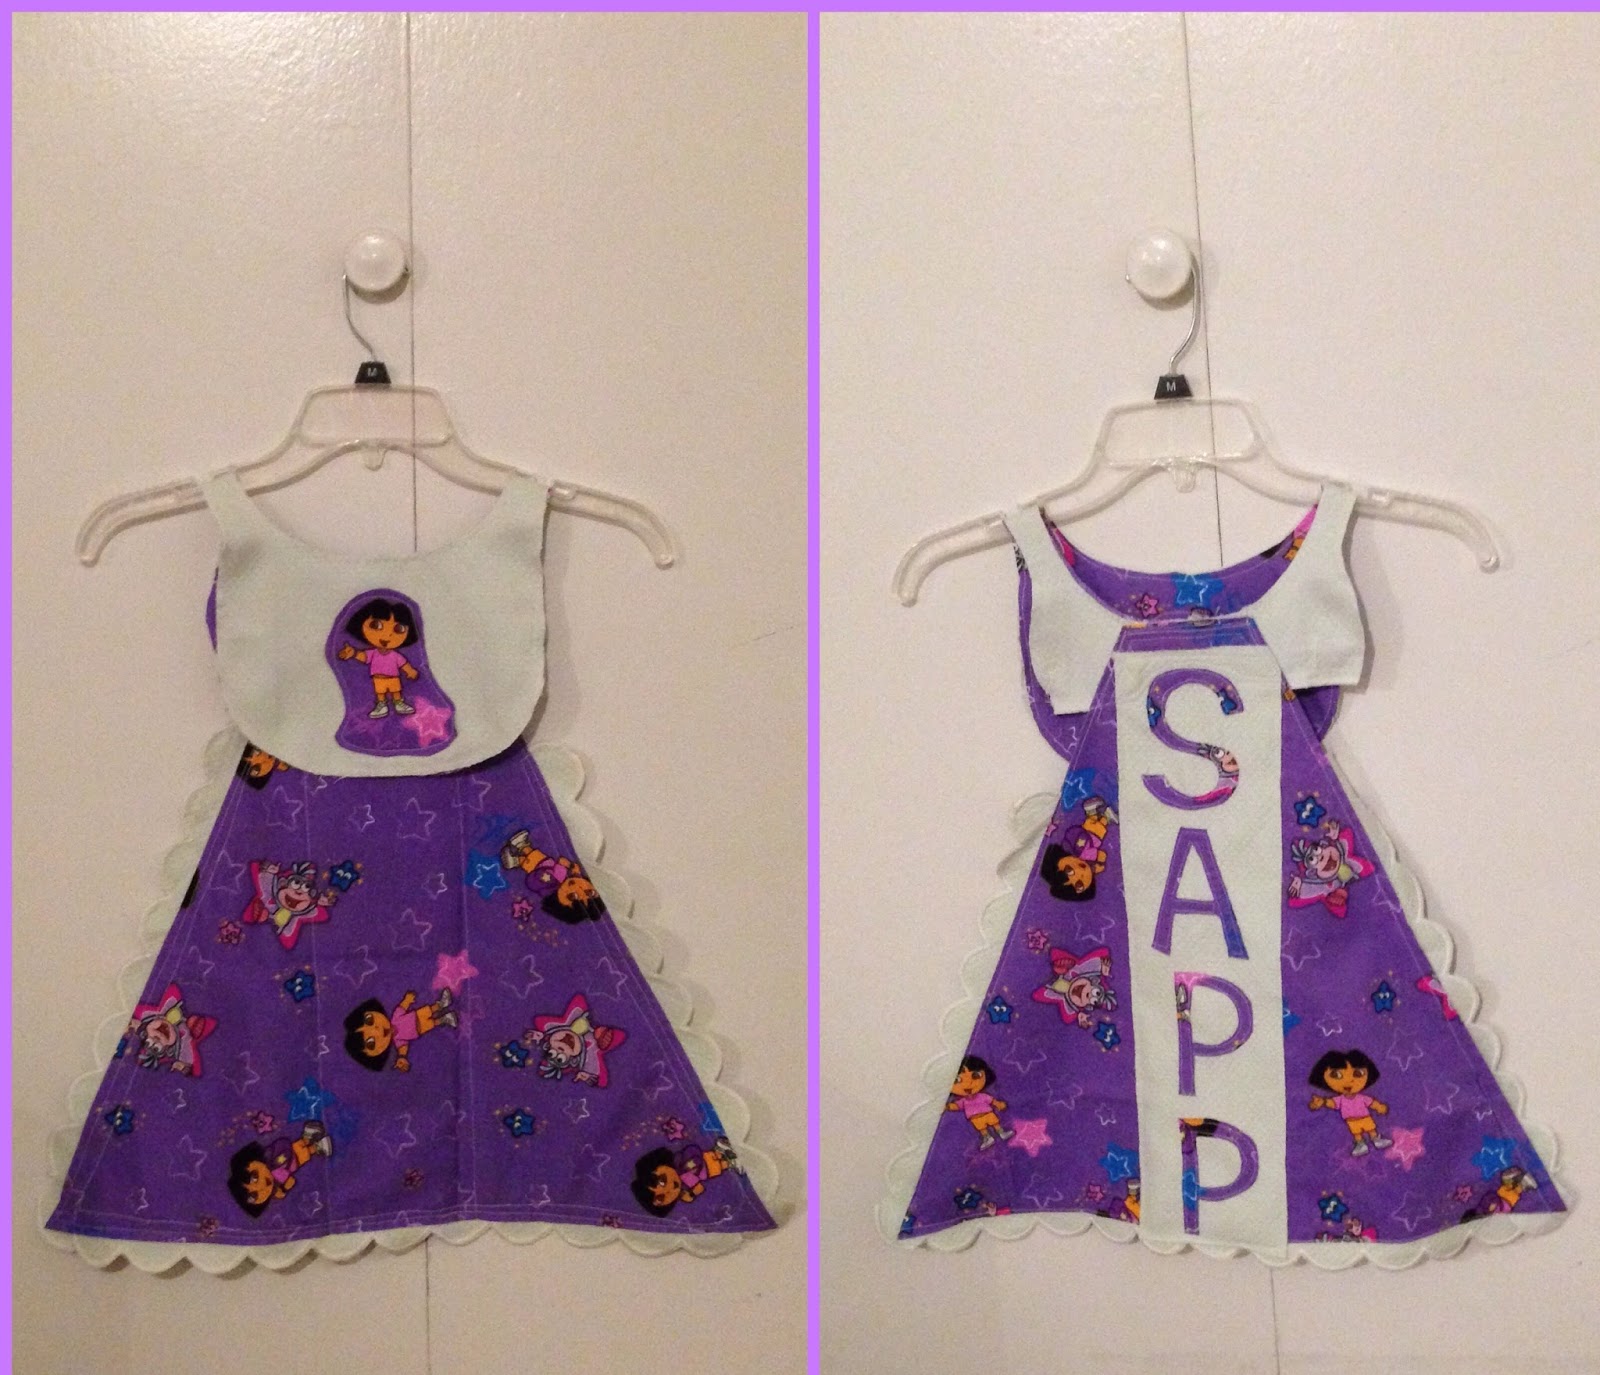
Handmade totes and clutch, and children's books for the Cape-Ngo family.

Instead of a blog, you can call this a local gifts shopping guide. I understand the gift giving season is over now, but some things to remember for next year are:
       For children's book, I recommend local author, Carly Cartmill.
       For organic gluten free dog treats, I recommend Zee & Zeus.
       For handmade jewelry, I recommend Bead for Life.
And, of course, for anything sewn, I recommend yours truly, RagsReborn! I know everyone will have birthdays to shop for throughout the year so I highly recommend that you utilize your local resources.
Harry Potter wand, handmade clutch, owl magnet and bracelet for my friend, Lacey.

Some of the craft shows where I did a majority of my shopping are:
The Handmade Show at The Crown Center
Christmas Bazaar at First Presbyterian Church
Christmas at the Lodge at the Mustang Masonic Lodge
I was also a vendor at each of these craft shows. These shows mainly showcase handmade items but there are a few direct sales vendors if you need your Scentsy, LuLaRoe and Pampered Chef.
Handmade photo display, bracelet, organic dog treats and kitchen towel set for my friends, Alan and Melanie.

I can see you're thinking, "Craft shows aren't my thing. I'm not really into knitting and homemade pickles. None of my friends will like 'crafty' things."  Well, I can assure you that you are probably wrong. I have friends and family members from age 1 thru 65 and I was able to find something for literally everyone on my Christmas list this year. I was able to shop for guys and gals who have a wide variety of interests and hobbies. And everyone was pleasantly surprised when they unwrapped their gifts.
Pokemon wallet and bracelet for my friend, Jessa.

If you still aren't sold on craft shows, you can always shop locally at shops and online. Many local artists sell their items in stores & boutiques and also have an online presence. Many cafes, bars and restaurants are run by local small business owners. My philosophy is that if you're going to spend money anyway, why not help out your community? I hope these pictures have proven that shopping local can produce bountiful gift ideas. As 2017 rolls around, I hope to see more and more patrons at craft shows. I already have three or four shows lined up that I will be participating in this spring. More to come on that on the next blog!
Crocheted ornaments and beer gift certificates for my friends, Travis and Cameron.

Monday, December 19, 2016

Erica makes Alan & Melanie a sculptural picture frame.

I don't have a single picture with Alan & Melanie so I'll just begin this blog with a picture of our dogs.

I have been blessed with good neighbors throughout my lifetime. There were always friendly kids in the neighborhood when I was growing up, I never got cursed with wicked roommates in college and I've made friends with my fellow apartment dwellers in my adulthood. This past spring, one of my best friends moved into my neck of the woods. Since Alan, his girlfriend, Melanie, and their dog, Jameson, moved in about a block away, Athena and I have taken several walks for puppy play-dates and family dinners. Continuing in my tradition to DIY everything, especially gifts, I decided to make a special Christmas present for my special neighbors.
Jameson and Athena are best puppy friends.

One thing that Alan always has on hand at his house is good drinks. As I was browsing Pinterest earlier this year, I saw several projects that incorporated wine corks. I asked Alan to start saving the wine corks from the bottles that he & Melanie drank. I expected more corks, but this is all I got. LOL Using these, I made a tabletop picture frame. I'm almost 99% certain that Alan doesn't read my blog but if you're reading this now, STOP... it'll ruin your Christmas surprise!!


DIY Sculptural Picture Frame Tutorial-
       Materials needed: Styrofoam fabric, craft glue and Styrofoam glue, wine corks, clothespins, toothpicks
Puppy not required.

1. Measure and cut Styrofoam to desired size. I'm sure an Exacto knife or a more appropriate crafting knife would have worked better but all I had was a bread knife, which worked just dandy. LOL

2. Measure and cut enough fabric to fully wrap around pieces of Styrofoam.

3. Glue fabric onto Styrofoam as if you were wrapping a box. I used both craft glue and Styrofoam glue. I'm sure just using craft glue would have been enough but I fear my projects falling apart after use so I always over-glue. After gluing fabric onto Styrofoam, set aside to let glue dry.

4. Decide how you want to stack and arrange the Styrofoam pieces. Poke toothpicks into one piece of Styrofoam. Using both glue and toothpicks, connect the pieces together.

5. Glue clothespins onto toothpicks. Set aside to let glue dry. These will be used to clip photographs onto the sculpture.

6. Arrange wine corks around perimeter of Styrofoam sculpture. Leave space in between two corks for where you would like to poke the clothespins toothpicks.

7. Use craft glue to attach the wine corks onto the sculpture.

8. Clip photographs onto sculpture and write notes and memories to pin onto the Styrofoam sculpture. Memory board is complete!!


Sunday, December 11, 2016

Erica sews Ruthie a bib-cape.

Me: Let me dress you up and take selfies.
Ruthie: Mom, help!! My Aunt Erica is nuts!!

Alright, if your name is Courtney Sapp or Alex Sapp, stop reading this blog right now! If you continue to read it, my Christmas present to your child will no longer be a surprise. You've been warned.
Just a preview of the project to come.

Ms. Ruthie Beth Sapp is currently my favorite small human. She lets me hold her and squeeze her and, best of all, when she farts, spits up or starts crying, I can just put her down and her parents don't get offended. Since she is my favorite small human, she will get heaps of Christmas gifts. I wanted to DIY at least one of her gifts. I decided that she needed something practical (and not just cute) so I brainstormed with Wes. He suggested that she needs a superhero cape since she'll be mobile in a few months. And who doesn't love a child running around wearing a cape? My idea was to sew her some personalized bibs. In the end, I combined both ideas and made her a bib-cape. For someone who knows nothing about babies, I think I did a damn good job. Tutorial to follow.

 DIY Bib-Cape Project:
Materials needed- fabric, lace or trim, sewing machine and all your basic sewing supplies (scissors, thread, ruler, pins)
I didn't get to use the baby dinosaur fabric. (;_;) But it's soooo cute!! If anyone has a child, let me know so I can sew you something with this fabric.
1. Make your pattern. 
       Lay a bib and a onesie next to each other (face the straps of the bib to the collar of the onesie) on top of a piece of cloth and cut around it. Cut a triangular shape around the onesie so it looks like the shape of a superhero cape.
2. First construct the bib.
       Trace the bib section of the pattern onto the piece of fabric you are using. I used two differently designed patterns of fabric so I traced the pattern twice.
3. Sew the two pieces together to make a bib. If you want to make DIY bibs, your instructions are done. LOL 
4. Embellish and decorate the bib, if desired.
5. Set the bib aside and begin to construct the cape.
       Trace the cape section of the pattern onto your fabric. Trace two copies so the pattern of the fabric will show on both sides.
BTW, rotary fabric cutters are one of the top 10 inventions, ever. 
6. Sew the lace or trim around one of the cape pieces.
7. Sew the second cape piece to the piece with the lace or trim (making a little lace sandwich).
8. Embellish or decorate the cape, if desired.
9. Lay the bib and cape pieces in the same way that you laid the bib and onesie when you marked the initial pattern. Then pin and sew the pieces together.
10. Make sure the two pieces are sewn on securely. I sewed around it twice to make sure it wouldn't tear from use.

And there it is... a bib-cape. It's a fun bib that your child will enjoy wearing and, now she can save the world while eating dinner! If you want one, I can make them custom to your or your child's preference. Please message me on social media or send me an email (ragsreborngifts@gmail.com).


Monday, December 5, 2016

Erica's Thanksgiving Leftovers Casserole Recipe.

My happy family- Me, my amazing husband and our two delightful fur-babies.

I hope everyone had a blessed and abundant Thanksgiving holiday last month. Honestly, I didn't know where to go with my Thanksgiving blog (which is why this blog post is a few weeks late, sorry guys). I am mostly at peace with my infertility situation but I'd be lying to you if I didn't admit that the holidays are pretty rough. For those of you who are untouched by childlessness, let me be the first to tell you that the holidays are a lonely and difficult time in the infertility world. There are literally a million websites and bloggers who offer "holiday survival guides" for the childless population. An exceptionally good resource is http://gateway-women.com/holiday-blues/.
Wes & I made a ham and a medley greens for our Thanksgiving dinner.

I have a great (although not as novel of an idea as I originally thought) Thanksgiving leftovers recipe that I want to share so I knew I had to post a Thanksgiving themed blog. But I had a challenge ahead of me. On the one hand, I didn't want my Thanksgiving blog to be categorized as "written by a bitter infertile." But on the other hand, I didn't want to lie and say that everything went great. I had a few ideas... I could blog about the many things I have to be thankful for despite my childlessness, or I could blog about how I felt my fair share of the blues, or I could blog about what I did to cope. Toward the end of the Thanksgiving weekend, I sat in front of my laptop with zero good ideas. I decided to not stress out about it and just give it some time. I figured a good idea would eventually come to me. Well, it's officially December and I still don't know exactly how to approach the topic so I won't. I will just share my leftovers recipe.
The impressive and delicious turkey that Wes made for Thanksgiving dinner at my mom's.

As Thanksgiving approached, Wes and I started to discuss what we would make for our dinner. We usually have a small meal as husband & wife and then we have a more traditional Thanksgiving meal at my mom's house with her & her husband. I thought I had invented a new casserole incorporating all the components of a traditional Thanksgiving meal, but I was wrong. (I found out I was wrong when I bought a jar of Heinz home-style turkey gravy and saw a similar recipe on the label.) Sadly, I am not the inventor of the leftovers casserole but here is my version of it.

Thanksgiving Leftovers Casserole Recipe-
       Ingredients needed: stuffing/dressing, green bean casserole, turkey, mashed potatoes, gravy and French fried onions.
You can actually cook these things fresh or you can use leftovers. Leftovers is probably the best way to go. We had a bit of both... a little leftover stuffing, mashed potatoes and turkey from my mom's house and the rest we made.

1. Prepare the stuffing/dressing (we used the stuff from a box so we just followed the instructions).
2. Prepare the green bean casserole but do not cook. Everyone has their own way of making a green bean casserole so I won't post a recipe here.
3. Prepare the mashed potatoes (we took the easy route and "made" instant mashed potatoes).
4. Spray an oven safe casserole dish with butter.
5. Pre-heat oven to 350 degrees Fahrenheit.
6. Spread the stuffing/dressing on the bottom of the casserole dish.
7. Place the fully cooked turkey on top as the second layer.
8. Spread the uncooked green bean casserole on top of the turkey... layer three!
9. Spread the mashed potatoes on the very top.
10. Bake at 350 degrees Fahrenheit for 25-30 minutes.
The layers sort of got blended together so it looks a little crazy but I promise it tastes yummy.
11. While that is baking, prepare the gravy. (Sorry forgot to take a picture of me heating up the pre-made gravy. LOL)
12. Once cooked, serve with gravy and French fried onions on top.
Mine is the one slathered in gravy. Wes is a weirdo and ate his dry.