Showing posts with label homemade. Show all posts

Monday, October 3, 2016

Erica & Wes make house made pickles.


The first time I had fancy "restaurant's own recipe" house made pickles was at Iron Starr BBQ a few years ago. I'm sure I've had house-made pickles before at various restaurants but this was the first time that it was brought to my attention. The menu highlighted them and our waiter praised them. After the waiter left our table, Wes told me that he's had them before and they were gross. LOL Their pickles were okay. I didn't really like them but I wouldn't say they were gross either. I never really paid much attention to pickles after that.

Fast forward a few years... I had dinner at Goro Ramen and they have the best house made pickles ever! I excitedly went home to tell Wes. He replied by telling me that ALL house-made pickles are gross. They're never pickled enough and they always still taste like cucumbers--and he hates cucumbers. A few weeks after that, we had dinner at Uptown Grocery (By the way, having a hot bar & salad bar inside of a grocery store is GENIUS! You get to have dinner and then go grocery shopping all in one place.)  I got some of their pickles and they were awesomely delicious. How does Wes not understand this? With that, I decided that we needed to make our own house-made pickles that wouldn't be gross; ours would be pickled enough and no longer taste like cucumbers.

House-made pickle recipe:
       Ingredients needed- 3 cucumbers, 1 teaspoon (1/2 teaspoon per jar) minced garlic, a handful of fresh basil (most recipes call for fresh dill but we are only growing basil & mint and I don't think mint pickles will taste as good), a pinch of red pepper flakes*, 1 cup water, 1 cup vinegar, 1 1/2 tablespoons salt, two jars with airtight lids
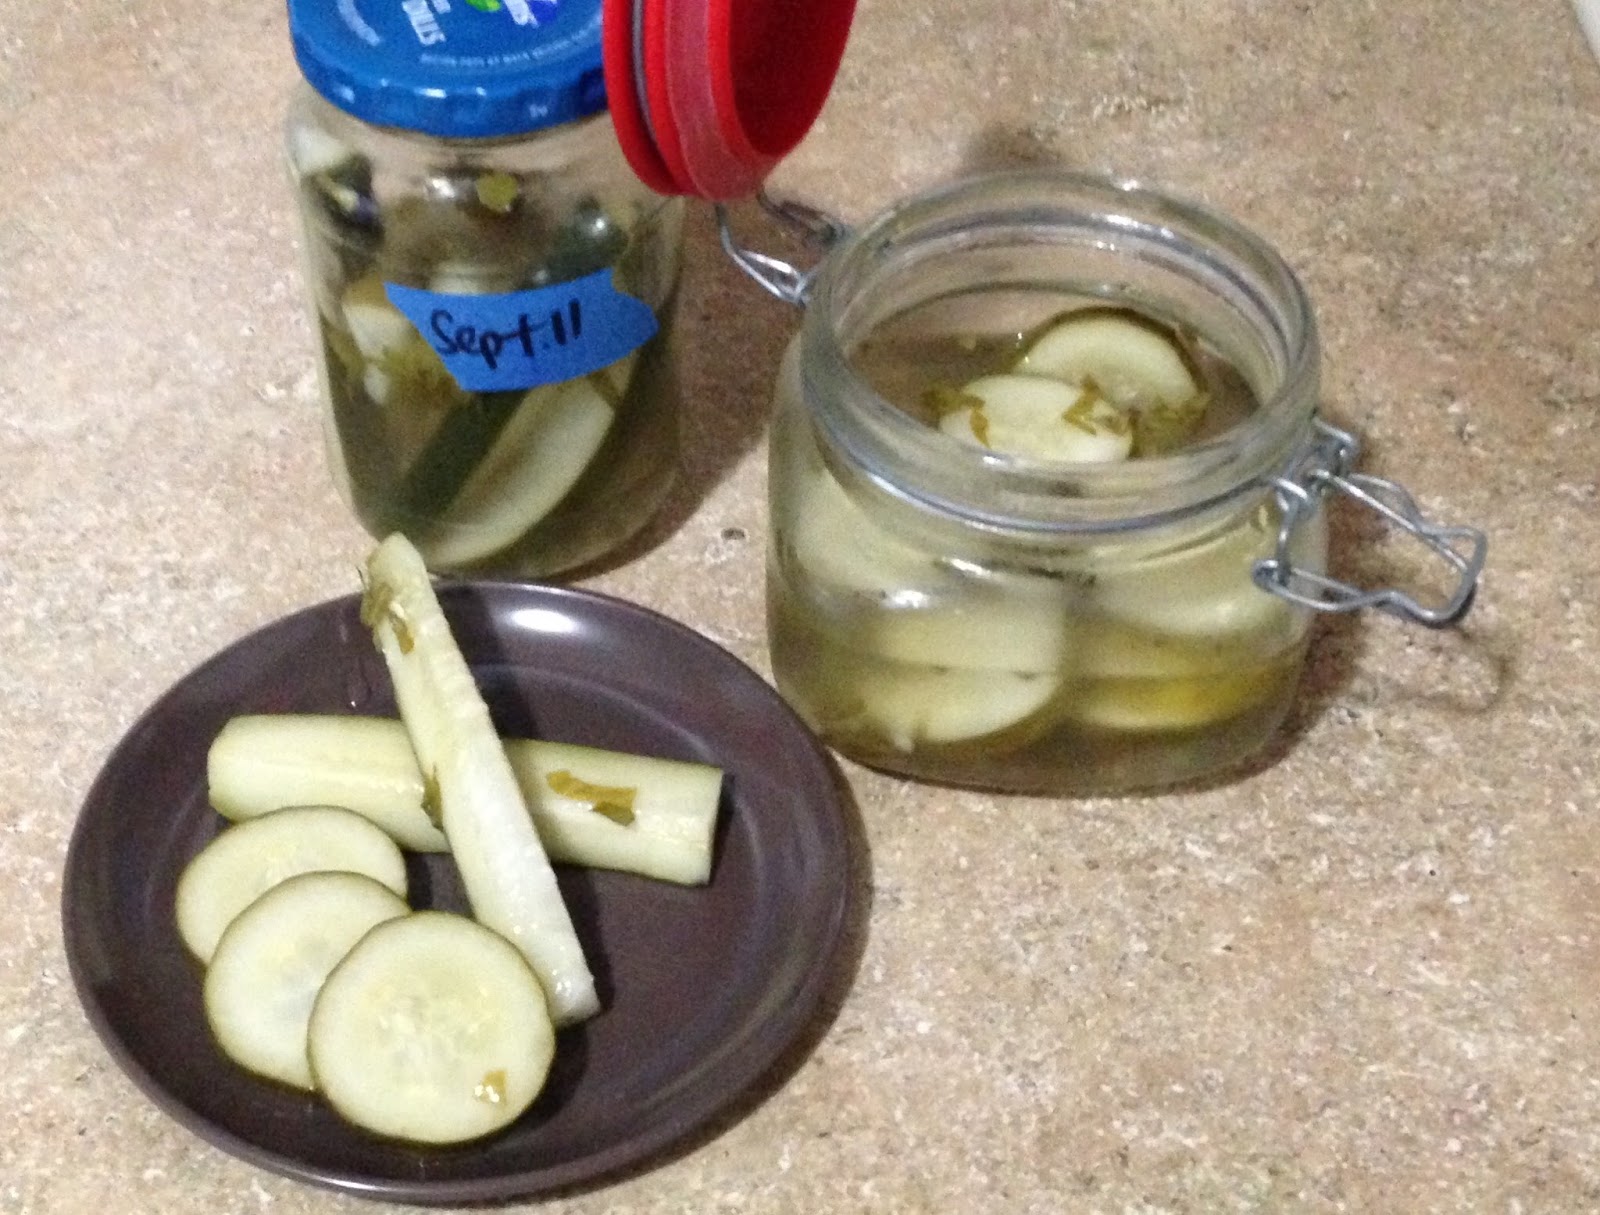
*We actually made two batches... one jar of spears with only basil & garlic and then a jar of round discs with red pepper flakes added.

1. Wash & dry the cucumbers. Cut off both ends and slice into spears or rounds.

2. Chop the basil.

3. Put the garlic, chopped basil and pepper flakes into the jars.

4. Place the cut cucumbers into the jar.

5. Boil water, vinegar and salt. (This will be the pickling brine.)

6. Pour brine into jars. Make sure the cucumbers are covered completely. I did this in the sink so it wouldn't make a mess if the brine spilled.

7. Tap the jars against the counter a few times to remove the air bubbles then put the lid on. Make sure it is nice & tight.

8. Let jars cool and then refrigerate. Leave in the refrigerator for 2 weeks. (Wes prefers 3 weeks to make sure they're pickled enough with no annoying cucumber flavoring.) Then look... yummy pickles!

Monday, March 14, 2016

How to use up raw pecans & chocolate candies...

Pecan cookies with chocolate caramel center.

I am now an expert at shucking pecans.
       At Thanksgiving, Wes went over to his grandparents' house and he and his grandpa picked pecans. I wasn't there but I imagine they picked pecans for appropriately seven hours and eighteen minutes while discussing the complete works of Krisnamurti. Wes returned with a large paper grocery sack FILLED with raw pecans (still shelled). I like pecans. I was excited. Raw nuts are expensive and we just got about 5-6 pounds for free! But I've never shucked nuts before in my life. I wasn't aware how difficult those little suckers would be to open. The excitement ended when I picked up a nutcracker for the first time. LOL
       Over the course of the next three months, Wes & I took shifts shucking them. We'd do a few handfuls at a time. Shuck nuts, hurt fingers, enjoy healthy snack, repeat. When we whittled down the amount in the paper grocery sack and had few enough left, we placed what was left in a Pyrex for storage. The time came for me to need to transport cupcakes to my Arbonne + RagsReborn party. The rest of the pecans had to go. Commence mass nutcracker pecan shucking party!
Text courtesy of Lacey.
After a night of labor, I was left with a rather large bowl of pecans. What to do with them? ... 
                                           
The literal fruits of our labor.

Wes' brother gave me a really nice (and large) box of chocolates for Christmas. I brought them to Christmas dinner at my mom's but we didn't get a chance to open them because there were already plenty of desserts. So, Wes & I took the chocolates back home and put them away.
       Fast forward almost two months ... today I remembered that I have a really nice box of unopened chocolate covered sea salt caramels just sitting in my kitchen waiting to be eaten. I had some for breakfast (they were delicious) and decided I wanted to use the rest for baking. I could have had more for breakfast but I didn't for the sake of my teeth and waistline.
There was only supposed to be 24 chocolates in the box but I got 25 when I opened it! Yay, bonus chocolate!

       I really like those peanut butter cookies with the Hershey's kiss in the middle--well, more like on top. I think they're called "Chocolate Thumbprints". I also really like Turtle (aka caramel and nut... not the animal) flavored desserts. A former coworker of mine would always bring "Trailer Trash Turtles" to our company potlucks. They're pretzels with Rolo candies and pecans on top. I've never made either thumbprints or turtles before but I imagine they're both pretty easy. And the two could probably be combined into one master cookie. Using that as my inspiration, I decided to bake some cookies with the Christmas chocolate candies in the center & crushed pecans in the dough. This is my first time baking these* & the recipe is mostly made up, except I used a sugar cookie recipe from a baking cookbook to get the correct proportions (because baking without correct proportions is disastrous). Wish me luck!
       *I will add adjustments to the recipe once I'm done baking...and if it's terrible, I'll just scrap this blog and post pictures of Sadie & Athena instead. LOL

Caramel stuffed cookie recipe:
       Ingredients
  • 1/3 cup of granulated sugar*
  • 1/3 cup of brown sugar*,
         *sugar cookies call for 1/2 cup each of brown & granulated sugars but I went with only 1/3 cup because I didn't want them to be too sweet with the candy in the center. The lesser amount of sugar did not affect the cookie texture or baking.
  • 1 stick of butter (at room temperature & softened), 
  • 1 egg, 
  • 1 1/4 cup of flour, 
  • 1/2 teaspoon of baking soda, 
  • chocolate caramel candies (make sure you have one per cookie; not all chocolates are shown in this picture), 
  • 1/4 cup of pecan pieces, 
  • a dash of nutmeg & a splash of vanilla (both are optional)
          I was able to make 12 cookies from this recipe. The chocolates were pretty large (about 1 x 1 inch squares). The recipe should be able to make one and a half dozen cookies if the chocolate pieces were smaller. 
1. Get a large mixing bowl and cream both sugars & butter. This is easiest to do with an electric mixer.

2. Once creamed, add egg, vanilla & nutmeg and mix together until everything is well blended.

3. In a separate smaller bowl, mix together the flour, baking soda & pecans.

4. Slowly add the flour mixture into the butter mixture. I always use one hand to pour while the other hand is mixing.

5. Wrap completed dough in Saran Wrap and refrigerate for an hour (more or less... I never time these things.) You can preheat the oven while waiting on the dough to chill. Preheat to 350 degrees Fahrenheit. 

6. After chilling...time to make cookies!! Take a chocolate candy and wrap dough around it. The cookies will be little dough balls with candy in the center. 

7. Place the balls onto a cookie sheet (you can grease the cookie sheet or use parchment paper but I have a Silpat and I LOVE it) and press down onto the balls until the tops are flat. Bake for 8-10 minutes, or until golden brown.

8. Cool and enjoy!! (but don't cool for too long...these are best eaten warm so you can truly experience the gooey caramel center!)
These cookies turned out so well!! So so yummy!! Especially for being the first time I ever made them. I have impressed myself. LOL If I had to tweak the recipe, I'd use smaller pieces of chocolate candy and maybe only one type of sugar. And that's only because they turned out a little sweet for my taste.


Monday, February 8, 2016

Sadie & Athena are getting treats!

Athena loves to cuddle with Sadie. She hasn't realized that she's gotten a lot bigger than Sadie so the dog stacking doesn't quite work out sometimes. Sadie usually just gets frustrated and retreats to the pet bed after a while.

This will be another feel-good blog with plenty of dog pictures. Because life is too stressful without puppies. Am I right? Speaking of stressful, I still haven't registered RagsReborn with the Secretary of State nor gotten a tax ID, yet.  Ugh. I have at least started my research on the topics. Someday soon I will blog about my legal journey and offer any advice I may have learned. Anyway...
       I have two very spoiled pups- Sadie and Athena...you know them as the stars of my Instagram and they have been featured on my blog several times over. They're adorable and precious so they deserve all the attention. I have decided that I needed to bake them some dog treats on this Sunday afternoon. I bake plenty of cookies for myself and Wes so it's time that I whip up something for the dogs.

       Many years ago, I threw my first dog, Kensington, a birthday party. I lived Downtown and I invited a few of my friends and their dogs to all go to the dog park at the Myriad Gardens. For party snacks, I made homemade dog treats. (from a recipe I found online, most likely from a blog... I get everything from blogs nowadays.)
       A few summers ago, we had a BBQ at my mom's for Kensington and Sadie's joint birthdays. I made the same treats. The dogs love them and they're easy to make. I think it's just chicken broth, oats and peanut butter. They're also gluten free, grain free and all natural with no filler and all that other good stuff that you're supposed to check for when buying dog food. (I swear my dogs eat better than Wes & I do sometimes.)
Homemade dog treats!
#tbt to Kensington's party at the dog park with Cindye, Ninja & Wiggles. They are all waiting on treats. A friend of mine made Kensington a party hat but it must have fallen off. 
Kensington & Sadie's birthday. We are playing catch with the Frisbee and then someone thought it would be hilarious to have Kensington wear the Frisbee as a tutu. He didn't mind.

My vet sends out quarterly pet heath magazines to all of his clients. I think it's call Vet Street or something like that.  There's a pet photo contest in each magazine and I keep meaning to submit pictures...I'll get on that next quarter! The magazine is a pretty interesting read and this last quarter's included a recipe for dog treats. Perfect timing since I was looking for a new recipe! I had already made the other one twice and wanted something different. The recipe that was in the magazine was a bit plain (it was literally two steps... mash together a banana & a cooked sweet potato, then bake). I thought it might be fun to combine recipes. The first one that I have been making is a savory dog treat and the new one in the magazine is a sweet dog treat. Sweet and savory combinations work with human food so why not in dog food?


Homemade Dog Treat Recipe;
      Ingredients- 1 large banana, 1 large sweet potato, 1 cup of oats & 1/2 cup of chicken broth (I don't have any at the apartment so I'll be mixing chicken bouillon into a boiling water to make chicken broth)

1. Cut the sweet potato into chunks and boil until soft. (like really soft... nice and mushy!) 
Remove from heat, drain and peel. If you're like me and find yourself without chicken broth, now would be a good time to make some using the leftover water used to boil the sweet potato. Because sweet potato flavored chicken broth sounds so yummy if you're a dog! 
       To make chicken broth, add 1/2 teaspoon of chicken bouillon powder to 1/2 cup of boiling water. Mix until dissolved. Set aside. 

2. Cut the banana into slices and mash into the sweet potato.

3. Add the oats and chicken broth to the fruit mixture. Mix well. Warning: this will smell disgusting. 

4. Preheat oven to 350 degrees Fahrenheit. Shape the dough into cookies, bones, squares or whatever treat shape you want. I went with round cookies because I'm not feeling too creative today. I made mine a little big so Athena would have to chew them. They're also chewy because of the sweet potato & banana. So no just swallowing it whole!!
       Athena doesn't like chewing... if something is small enough for her to swallow, she will. She almost swallowed a Greenie treat whole (and those things are long and shaped like toothbrushes!). She's swallowed entire dog treats and she inhales her kibble. The only thing we can get her to actually chew up is rawhide treats.
       The dogs were waiting patiently for their treats .They're not allowed in the kitchen so they had to sit longingly in the living room. Sadie was still resting but Athena perked up when she started to smell the treats baking.
5. Place on a non-stick baking sheet or parchment lined cookie sheet. Bake for roughly 45 minutes. Let cool, then serve. These only last a few days so have your pups gobble them up before they perish! 


Monday, January 25, 2016

Continued from last week...

Girls night dinner at Gogo Sushi : )

Sorry to leave you guys hanging like that last week. Are we ready for two more cheap, easy & awesome DIYs? YES WE ARE!!
BTW, please know that my Blogger formatting is still being crazy. I swear I'm not typing centered but for some reason, it shows up that way when its published. I've tried everything but technology has bested me. I give up; we'll just read everything aligned to the center tonight. Sorry (if this bugs you as much as it does me).  (;_:)

Here's the finished project for my coworkers' Christmas gifts.

Infinity scarf tutorial:
       Last year, I sewed scarves for Mike and Wes. This year, I thought it would be fun to make some for the females. 

       Materials needed- fabric (I'm using an old dress that doesn't fit me anymore, a dress that was gifted to me to use as fabric because it didn't fit its previous owner & some scrap cloth from a different project), scissors, tape measure, sewing machine & pins
       This project was actually free because all the fabric was used or scrap. But, if you didn't have old clothes or fabric, you can buy some cheap-o t-shirts from the Dollar Tree to use. 
Dress from Jessa, dress I bought myself & fabric for pillows I made Athena & Sonja.

1. Measure and cut the cloth into strips. It doesn't matter how many strips. I cut a few and sewed them together to have a variety of colors. The length and width depends on how big you want your scarf to be. I made three scarves: one for Jessa, one for Courtney and one for Wes' mom (not pictured because I was in a hurry and forgot to take a picture before I wrapped it). The scarf I used for this tutorial is the one pictured after step #3. 
    My measurements were: 
       red cloth (2 pieces) - 23 x 5 inches,
       beige cloth (1 piece) - 33 x 5 inches,
       patterned cloth (1 piece)- 28 x 5 inches


2. Hem the edges of the cloth, if needed. I used some really thin fabric so I hemmed mine to ensure that it won't fray or tear with use. Then lay the strips of cloth in whatever order you want & pin it all together to make a round piece of fabric

3. Sew the pieces together where you had pinned. And there it is... an infinity scarf!!

There are literally hundreds of Sharpie ceramic mug blogs/tutorials out there. Trust me, I read a bunch of them to get a good idea of how it's supposed to be done. I love the idea of customization and personalization so I definitely wanted to make some of these mugs for Christmas gifts. I took notes on the best advice from other crafters and came up with this.

Jessa & Mason's mugs. They're having a Pokemon themed wedding in March and I thought this would be a great pre-wedding gift.

Sharpie ceramic mug tutorial:
Materials needed- cheap ceramic mugs (the cheaper the better is what most bloggers say for this project), Windex & paper towels, Sharpie permanent markers

1. Take off the manufacture's sticker, bar code, price dot, etc from the mug. Make sure to really tear it off. We don't want anything catching on fire in the oven! Then wipe down the mugs with Windex.
2. Draw, color, go to Crazytown Decoration-ville on your mug. I did one for each of my coworkers (#team HCR) and then I did 3 pairs. A pair for Wes' video gaming best friends, and then a pair for my friends Courtney & Alex and Jessa & Mason. Wait three days before moving onto step #3. This will give plenty of time for the ink to settle in.
Down, Right, Fierce Street Fighter Move for Travis.

3. Place the mugs into a cold oven (aka DON'T pre-heat), turn the oven on to 450 degrees Fahrenheit and let bake for thirty minutes. After the 30 minutes, turn the oven off but do not open it. The mugs need to stay in the oven to cool. I let mine cool over night. Then the next morning, you have neat mugs that you decorated yourself. Oh, how thoughtful!!
I made three sets: the first is for new parents Courtney and Alex, the mugs read Mom needs coffee/Dad needs coffee; the second pair is for Wes' friends, Travis and Cameron, they have Street Fighter commands drawn on them; and the last pair are for newly engaged Jessa and Mason who are avid Pokemon fanatics, I drew Pokeballs on the mugs but you can't see them in this picture. I did research for the Street Fighter & Pokemon mugs so I wouldn't draw anything incorrectly.


A few weeks ago, Wes & I had his two best friends over for dinner (for Christmas). We all chipped in and got Wes a PS4. (This was my idea even though I don't know a lick about video games.) I also bought him Fallout 4 and an extra controller--so they could all play together. Wes also got his friend a PS4 game. And I drew Street Fighter super attack command moves onto their mugs (my idea but Wes had to show me what the commands looked like).  LOL 

So...it's been a few weeks since I wrote this and give Travis & Cameron their mugs (I think we all had our dinner on December 27th). It has been reported that the Sharpie has started to wear off. Do no put these mugs in the dishwasher and wash them very gently to avoid fading.