
Lynn and me at her wedding...my first bridesmaid experience. Throwing it back to 2011!
One of my best friends in my early adulthood is a wonderful lady named Lynn. She worked in the Downtown OKC/Business District area at the same time I did. We would try out all the restaurants and events that popped up in and around downtown. I remember going to a Cirque du Soleil performance and AC/DC concert with her. It was a great way to fall in love with Oklahoma City. And now, I can't complain that there's nothing to do in the metro area!
Well, she got married and moved with her husband to Texas and then to Virginia. We still keep in touch but we haven't seen each other in probably 3 years. We text and talk on the phone and try to write but its not the same. I've never been to the east coast so I thought, "Its about time I visited Lynn," and now we're planning a reunion in the spring! I'm very excited.... and when I get excited, I make stuff. My friends either think its a curse or love all their random gifts; I haven't gotten a definitive answer regarding their feelings yet, but I hope its the latter. For Lynn, I decided on a piece of statement jewelry. She didn't wear a lot of accessories but I do remember a few pieces she liked and she was a Stella & Dot consultant for a brief period of time.
So, here you go Lynn... I hope you like it!!
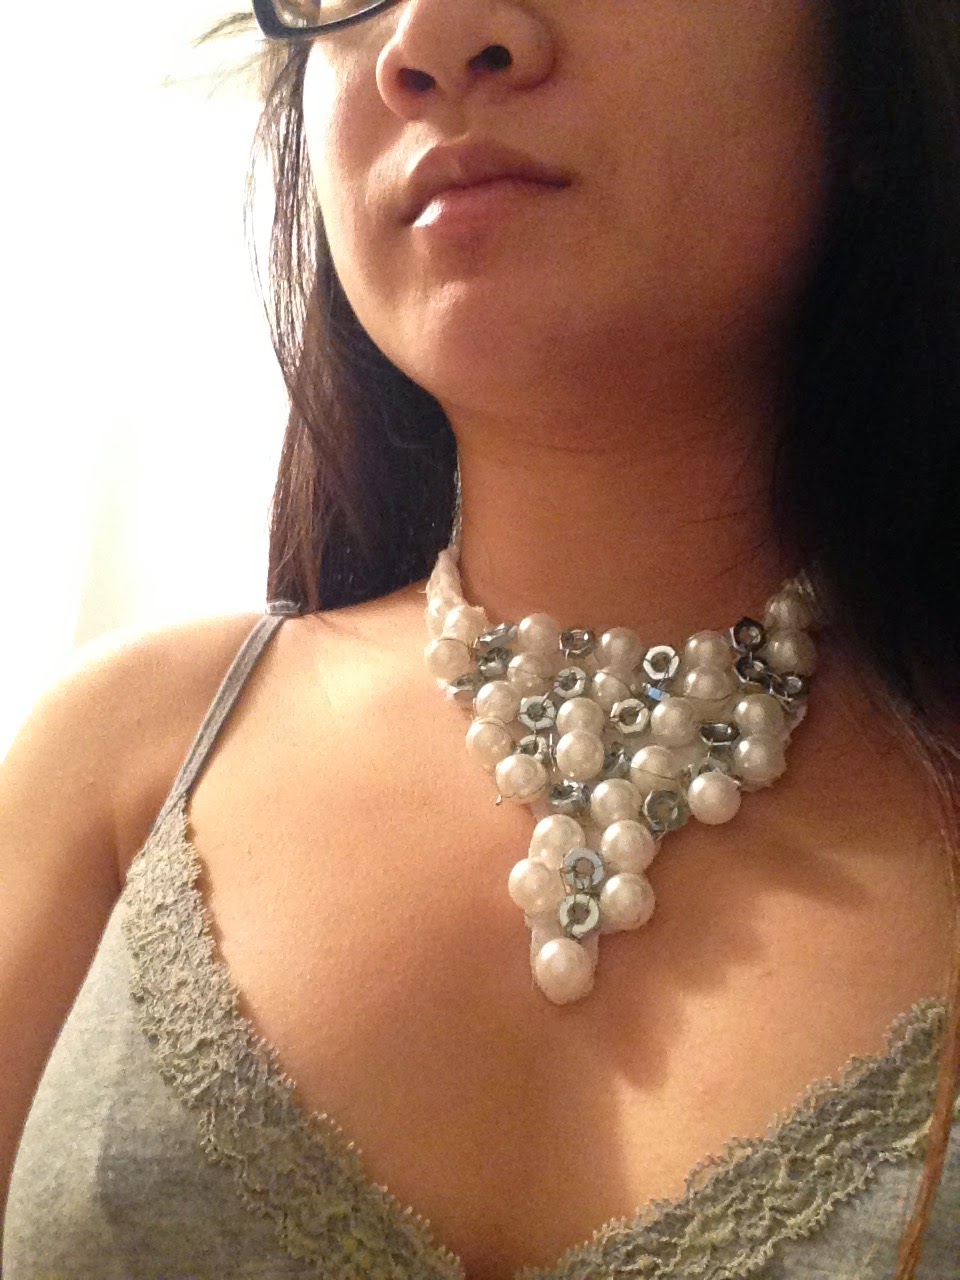
Statement necklace tutorial:
Materials needed: pearls--or beads that look like pearls, hex nuts, wire, scissors, cloth, hot glue gun (not all materials are pictured and I changed my mind on the cloth at the last minute so its not the peacock cloth in the finished product picture...sorry, it look me three sessions to get this necklace right and then I blogged afterward.)
.JPG)
1. Lay out your pearls and hex nuts in to the pattern you want the finished product to look like. Count and make sure you'll have enough of the pearls and hex nuts. I had to play around with my pattern a bit before I settled on a final design.
2. String the wire through the pearl. Bend the wire into a knot at the bottom of the pearl. Then string a hex nut through. I looped the wire around each pearl and hex nut to secure them in place.
.JPG)
.JPG)
.JPG)
.JPG)
.JPG)
.JPG) (Here is a work-in-progress picture. This took forever so I should have added patience to my list of materials! LOL I have the scissors there for a size comparission. --------> )
(Here is a work-in-progress picture. This took forever so I should have added patience to my list of materials! LOL I have the scissors there for a size comparission. --------> )4. Now that the 'statement' part is done, time for the 'necklace' part. The last two steps are really six steps but they're super easy so I'm condensing them into two.

Hot glue the completed pearl/hex nut wire piece to a piece of cloth. I originally wanted it on a patterned cloth but I changed my mind and decided on a more simple cloth for Lynn. After gluing, cut the pearl/hex nut piece out of the cloth. Hot gluing it to the cloth ensures that it won't fall apart (which is good if you're like me and don't work with wire often).
5. Lastly, turning it into a necklace.

Cut the remainder of your cloth into six equal pieces (I wanted my necklace to be pretty short so my cloth was probably 8 inches each but you can totally do long, too.) Braid the six pieces into two pieces leaving about 2-3 inches unbraided. Hot glue one braid onto each side of the pearl/hex nut piece. Necklace is done! And it even looks good on dogs! LOL
.JPG)
Sadie has a bright future in jewelry modeling!


